
DIY HAIR SCRUNCHIES
Amidst my declutter frenzy the other day, I came across a little pack of elastic (or so I thought) and the idea dawned on me to try to make my own scrunchies! It turns out the pack I had found was just elastic-looking string with no stretch whatsoever, but luckily I found some actual elastic halfway through the project, and hey — glad the non-elastic string still sparked the idea!
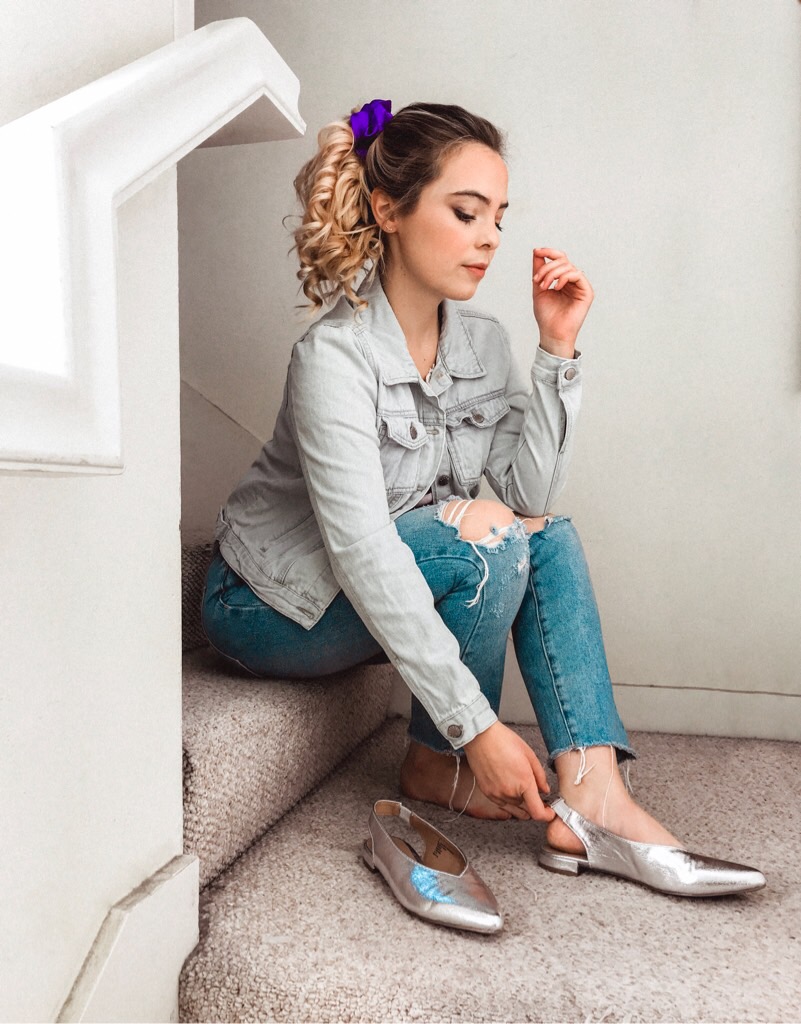
My favorite hair stylist recommended that I get a silk scrunchie for when I put my hair up at night because it will pull a little less and keep any hairs from breaking or getting pulled out in my sleep by my usual hair tie. Besides that though… scrunchies are totally back.
It was very, very easy to make my own scrunchie. It might take just a little longer without a sewing machine, but even with barely any sewing experience you should have no problem!

STEP 1: Choose your fabric and cut a strip about 3-5 inches wide (depending on how “floofy” you want it to be) and about 18 inches long. You can make it longer or shorter depending on how tightly ruffled you like it! You can always cut it shorter later if it turns out to be too long.
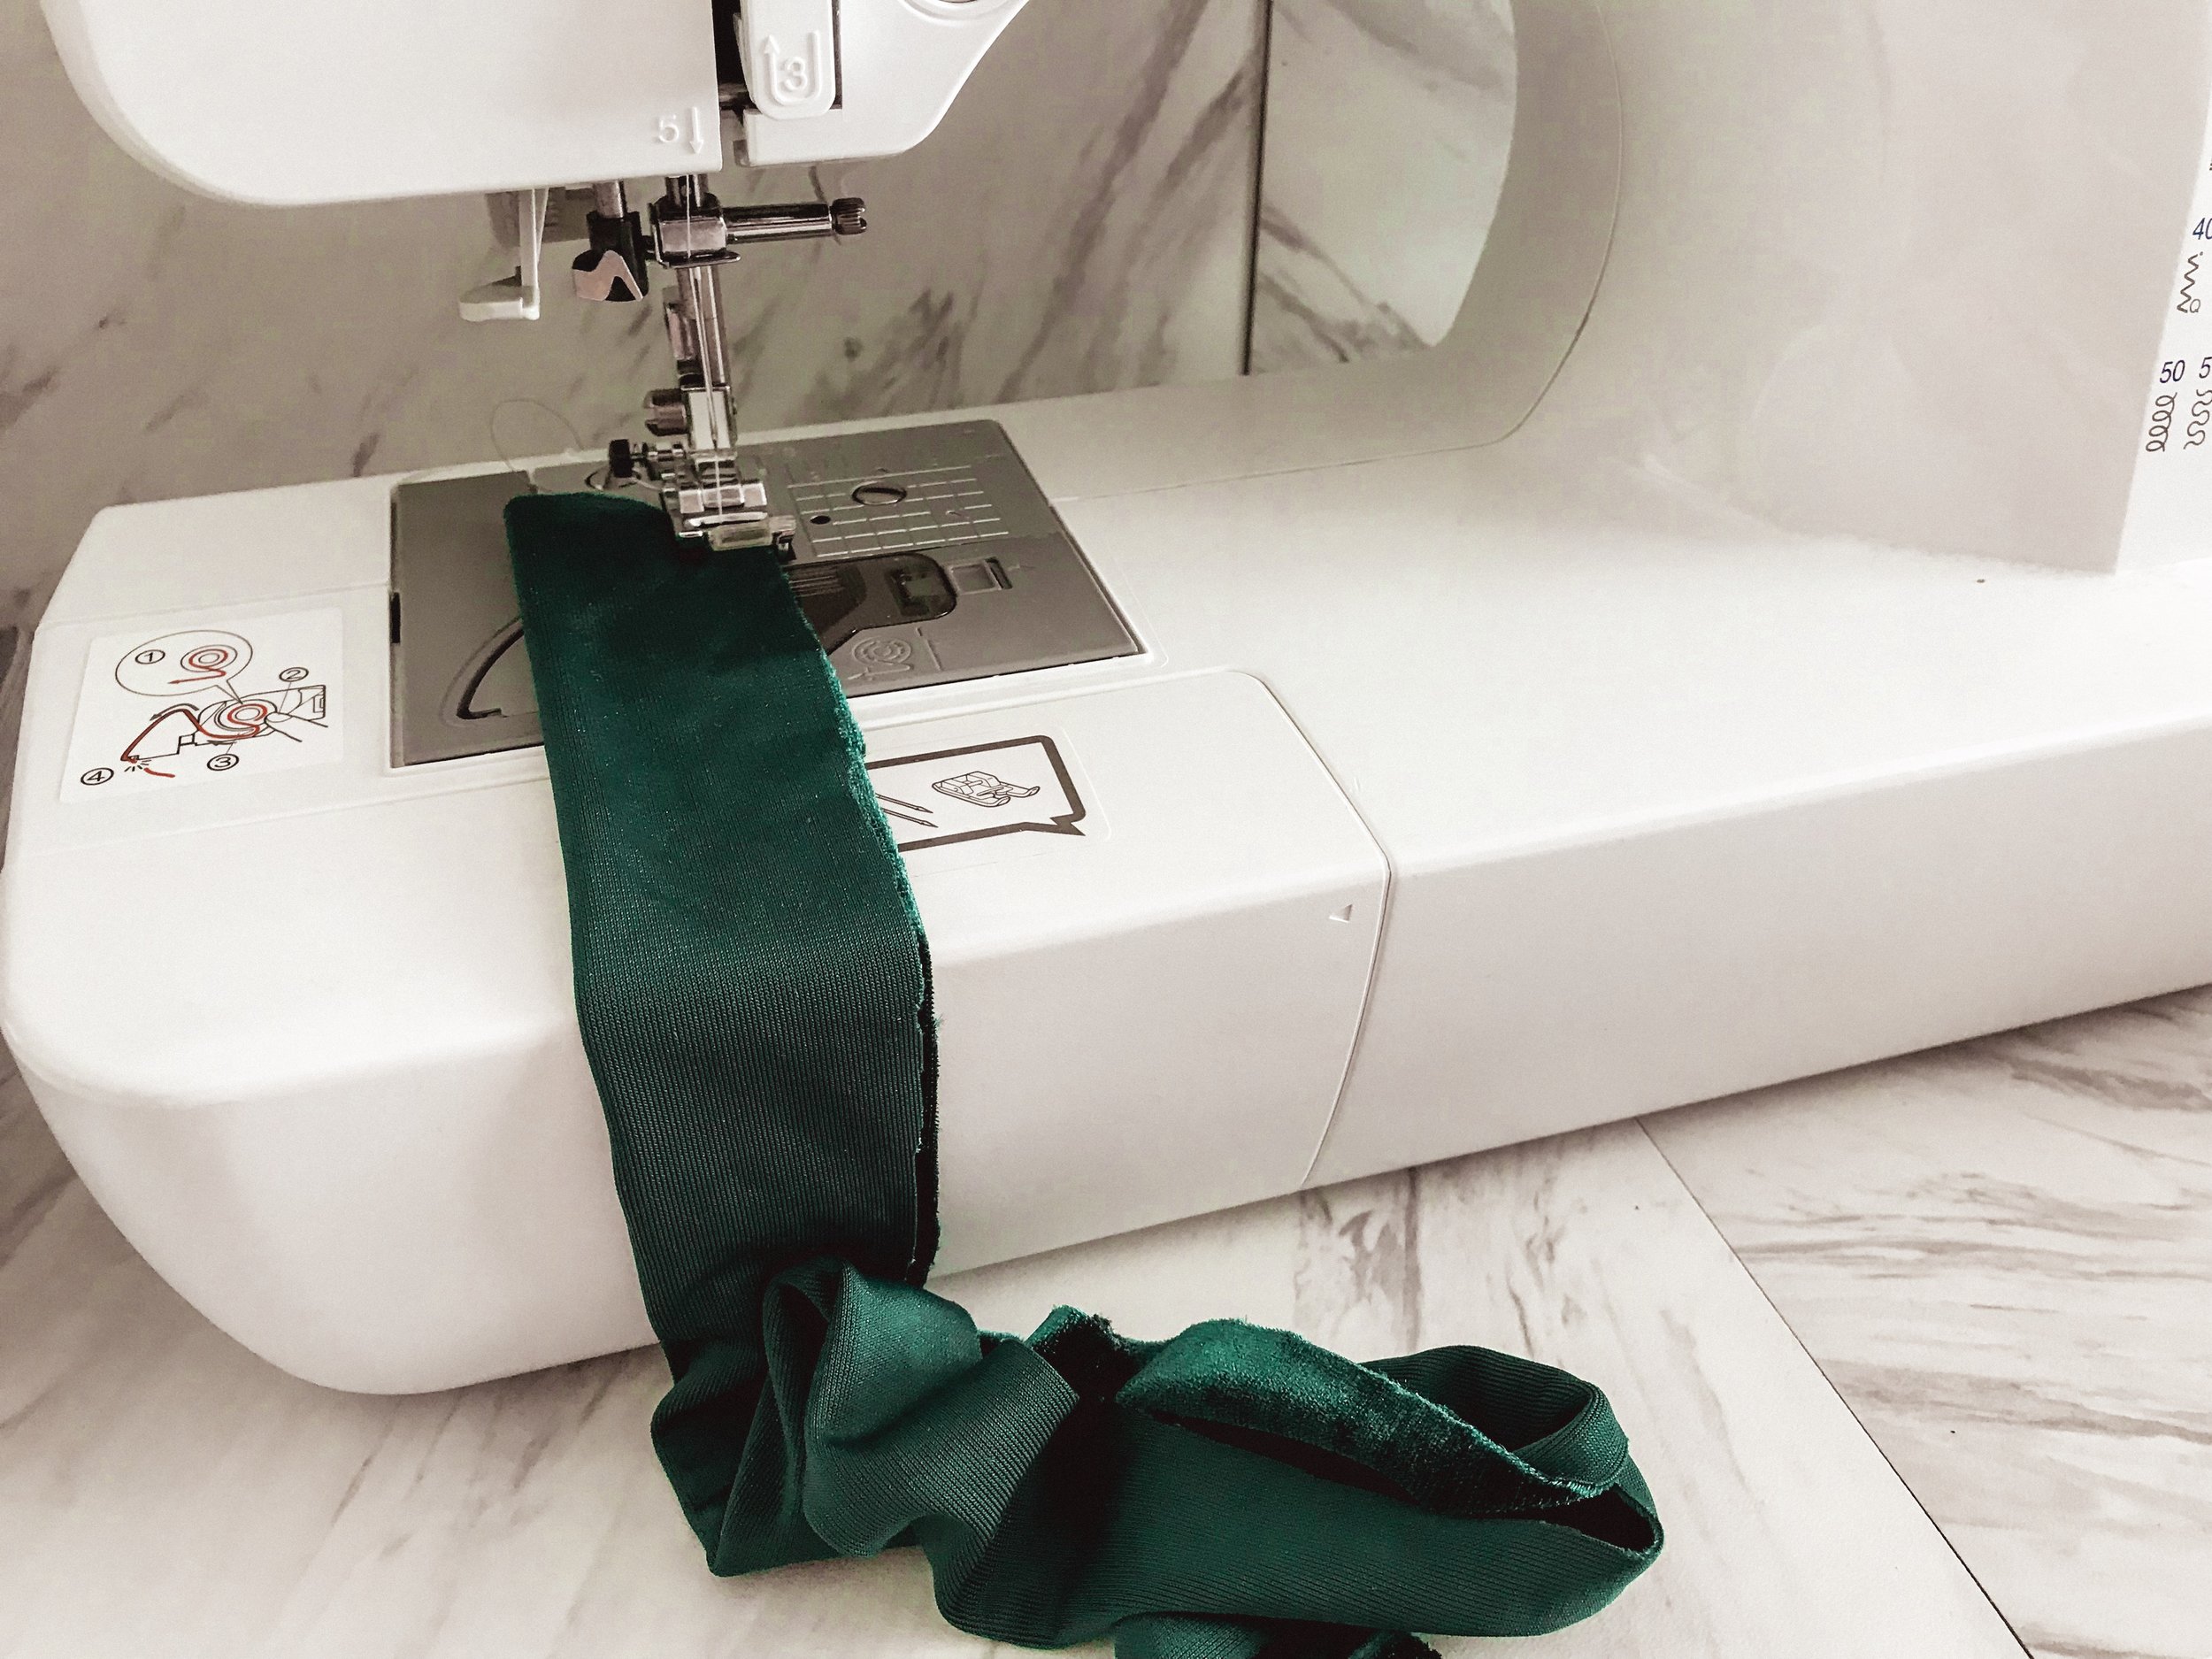
STEP 2: Fold the strip in half (hotdog style) with the right (aka the front/top/pretty) sides together. With a needle and thread or a machine, stitch all the way down the open side so that you have an inside out tube of fabric. Leave the ends open.


STEP 3: Fold the tube right side out to hide the stitching and see the nice side of the fabric.

STEP 4: Cut a piece of elastic to the size you want — I used another hair tie that fits my hair well and measured the elastic around that to make it the same size. It should end up close to 6 inches long. Put the elastic through the tube of fabric until you can pull it out the other side.

STEP 5: Stitch the ends of the elastic together using a needle and thread. If the ends of the fabric are showing or if the fabric has an unfinished edge that will unravel, you can also stitch the ends of the fabric together by hand. For this velvet one, I didn’t even finish the edges because it’s so well hidden in the ruffles. Up to you! And Voila! You have a new scrunchie!

So easy, right? I’m going to make so many more of these. It’d be fun to do some with different bows or pom poms or some really interesting fabric. Let me know if you try this! I’d love to hear what you think and if these directions were helpful!