
HOW TO MAKE A FLORAL BACKDROP
I had such a fun time creating this floral backdrop for @amyanddarrenphoto's photobooth at the Johnnyswim concert this past Valentines Day. Unfortunately I was pretty focused on the project itself and I feel like I did a terrible job of documenting the process! I've had a lot of questions and interest in it though, so I wanted to make a blog post even if it's not a beautifully photographed step-by-step.
Amy and Darren are friends of mine, so I was the lucky woman who got to benefit from their friendship with Amanda and Abner, of Johnnyswim. They're usually on tour with them, photographing a lot of their shows (and hanging with their cutest ever little son). When I told Amy I was looking for more design work, she was like "oh hey! We need someone to design our photobooth! Wanna do it?"
Since it was Valentine's Day, we wanted something super girly and ultra Valentines-y. We also had a small-ish budget and had to be able to move it to two different locations during the concert, so we wanted it to be practical in those two areas. This was one of the photos they sent me for inspiration --->
They already planned on bringing their black photo backdrop, so all I needed to do was put together the flowers!
Luckily, I had an entire bin of fake flowers sitting in our storage leftover from our wedding, so I started with those.
THE HOW TO:
To be honest, the whole process was way easier than I expected. I just bought some of those $1 foam boards from the craft store to use as the base, used the wire from inside the flowers (or twisted on some of my own wire to the flowers if they didn't have any) and poked the wire through the foam board.
I added the hanging greenery last with the same technique and then I used wire to add some tiny flowers onto some of those leaves. Once I had all of them in place I covered the back with some pretty pink duct tape to keep them secure! Everything stayed pretty well even with a lot of transporting back and forth. Side note: This was definitely the cheaper and quicker route... for a more professional backdrop I would recommend creating a better back side with another piece of foam or a nice piece of wood, and using your own wire on every single flower so it's custom designed and perfect.
Hanging it was a bit of a challenge. On my backdrop at home, I just used some clamps (from the dollar store) that fit around the backdrop bar and clamped onto the foam board to hold it in place. But what we didn't realize ahead of time was that the paper backdrop mounted on with a super wide tube that held a big, big roll of paper and the backdrop stand actually went through that tube, so my clamps wouldn't have helped at all (and I forgot them anyways lol).

Instead, we put a string through the tube and around to the front (so like a big long loop, tied super tight through the tube) to create a line to hang the backdrop on, like a shower curtain. I added some last minute loops of string through the foam board and then we strung it onto the backdrop line the way you string a shower curtain onto the rod. Make sense? I wish I took pictures to show you, but alas writing shall be all you get for now. It mostly worked, but the backdrop was a little too heavy for the string so we had to use some duct tape to help and keep repairing it throughout the night.
I would recommend just installing the flowers right onto the backdrop, using a super strong rope (if you have to) or just using a stand you can clamp onto instead!
I will put links to everything at the bottom of this!

BUDGET:
The trickiest part of the whole thing was the budget. In order to create a really full, beautiful backdrop I wanted the flowers to be pretty close together and to have all different sizes. We needed to make it long enough for big groups of people, so this one was 9 feet long. With that length and the price of flowers we were only able to make the main section about 6 inches tall. I used probably about $200 worth of flowers I already owned and then spent another $100 on new flowers. Think about how much a full flower wall would cost!
Luckily we had already planned on just having a narrow top part and filling the rest with pretty greenery (the greenery was about $40 of that cost), so that helped with the cost.
JOHNNYSWIM:

The concert itself was soooo much fun. Johnnyswim is so talented musically, and they were so entertaining as performers. We had great seats (kind of in the middle!) even though we were added to the list super last minute, and we got to just relax for those couple hours. After the concert is when all my "proud," "flattered," "omg," "is this real life" moments happened...
Darren mentioned that Abner asked if we could bring the backdrop downstairs to take some photos with all their friends that had come to visit. (OKAY YES THAT'S FINE WITH ME) We decided to stay a little longer (hahahha was that even a question) and had the chance to finally meet Amanda and Abner and so many other amazing musicians and performers and artists.
My favorite moment was when Tori Kelly asked the people around her who made the backdrop... Nathan overheard and gave me "GET OVER HERE IMMEDIATELY" eyes and introduced me to her. I was really embarrassing and asked her what her name was (lol face palm). She said "Tori" and then I probably turned bright red while I realized who I was talking to and became much less cool.

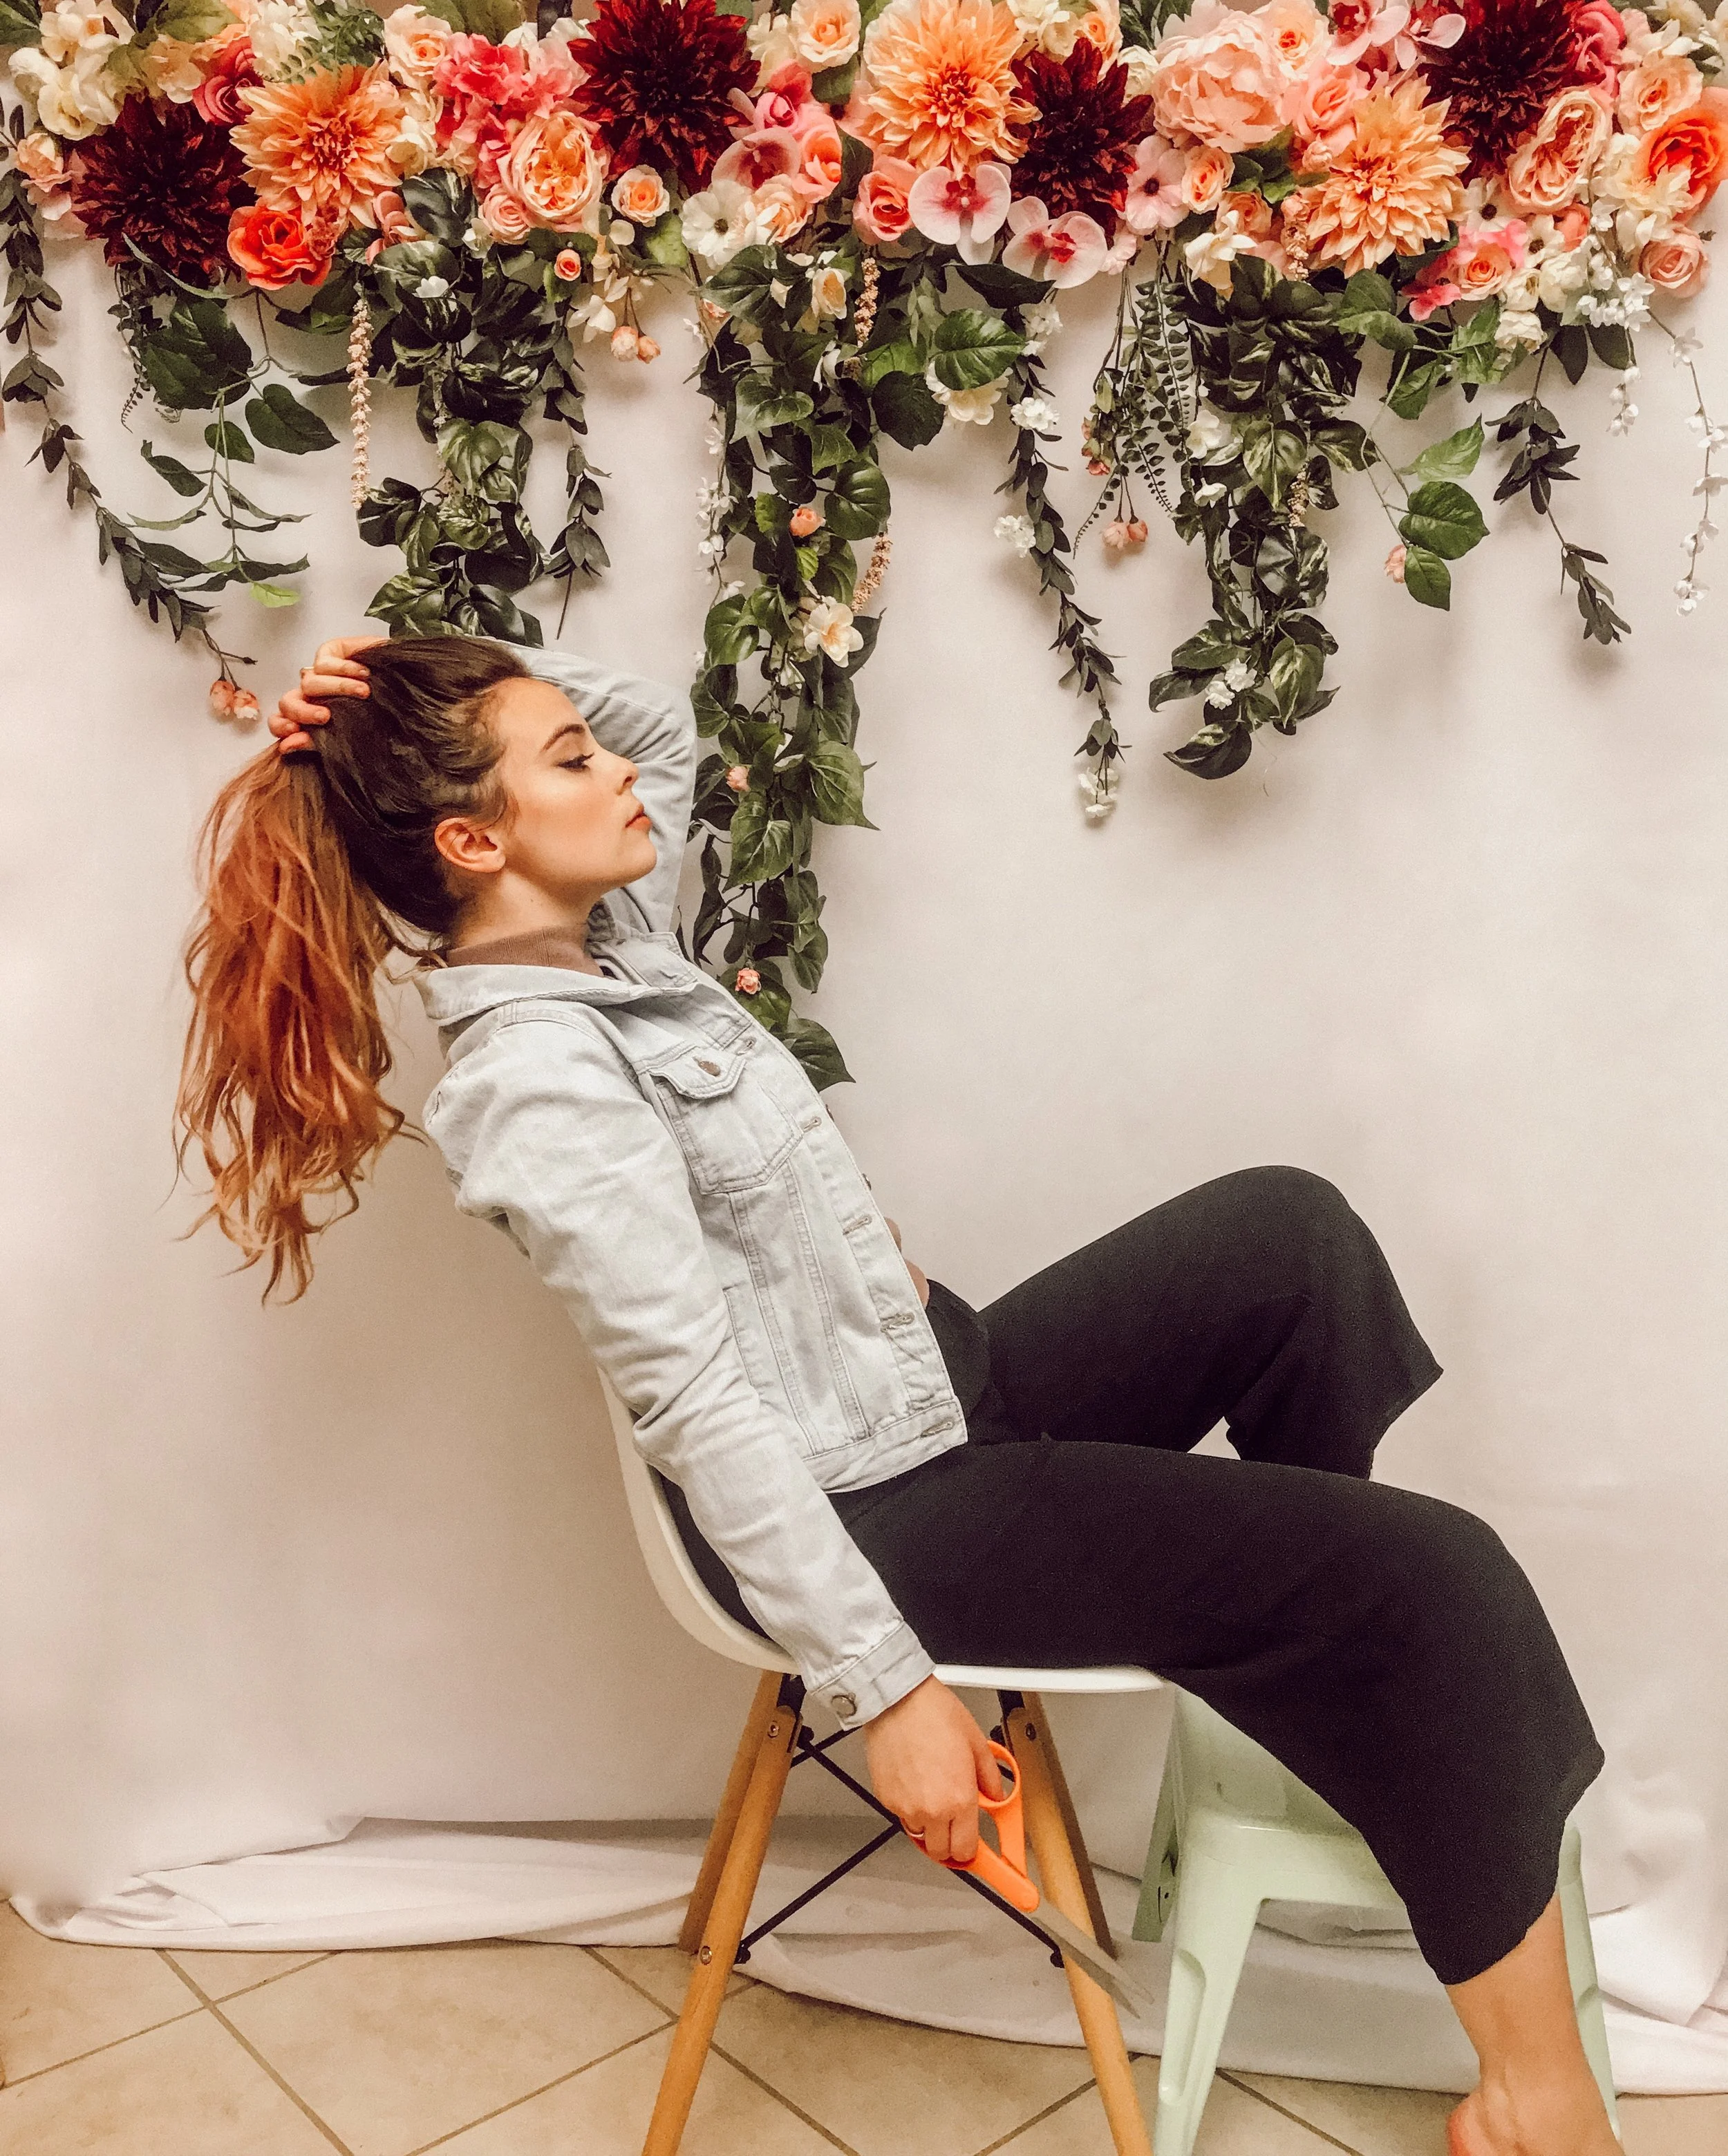
^^ The flowers started drooping by the end of the night but we just went with it!

The whole evening was such a high. I just really love making things and seeing something I worked hard on getting to be part of such an awesome event was really really encouraging and exciting for me. I hope I get to do something similar again!
Big, huge thanks to Amy and Darren for inviting me to be part of the event! They are killer wedding photographers and just launched their new business together. You can follow them here.

LINKS:
So for those of you who asked about links to shop things... I already owned some of this from various projects in the past, so I don't remember exactly where everything is from, but here are some good options:
Flowers: I got all of mine from Michael's... they're not the cheapest but they look pretty real if you pick out the right ones. They also have a lot of great sales pretty often and coupons if you download the Michael's app! I got my new ones 60% off!
Greenery: I used the garland chains from Michael's for the main parts of the greenery. I also found a huge bush of greenery from Goodwill for $10, so I cut some of that up and wired some pieces together to create smaller chains for some of it. Also, if you want to add any real plants into the mix, greenery is a good place to do that. I recommend Eucalyptus or a dark greenery because those will look good even once they start to dry and won't wilt easily.
Foam Boards: I got white because it was cheaper, but I recommend dark green if you have the option so it blends better if there're any open spots showing. I got mine at Michael's since I was already there, but they're everywhere. They're at the dollar store, and any craft or office store you can find. Here are some on Amazon! And here are some in dark green.
Wire: I had some wire left over from the actual, live flower arrangements for our wedding... it worked perfectly. Here's some on Amazon.
Wire Cutter (because scissors just WON'T CUT IT LOL I'm so funny): you might already have a pair of pliers with a wire cutter on them! I had one from my basic tool kit (ya know, the one dad gets you when you graduate from high school and need to do things on your own), but here's one that gets good reviews.
Scissors (haha idk you can use your favorite scissors)
Backdrop Stand: Here's a good one that even comes with a couple clamps!
Seamless Paper Backdrop: "Savage" is a good brand to look for. These are typically big huge rolls like the one we used, so if you want to use clamps to attach it I recommend cutting off the size you need so that you don't have to clamp around the big tube. Here's a basic white one on Amazon. They're also available at Samy's Camera!
Clamps: Here're some on Amazon, but we just found some at the dollar store (when we emergency-needed-them in the middle of a shoot a few months ago haha)