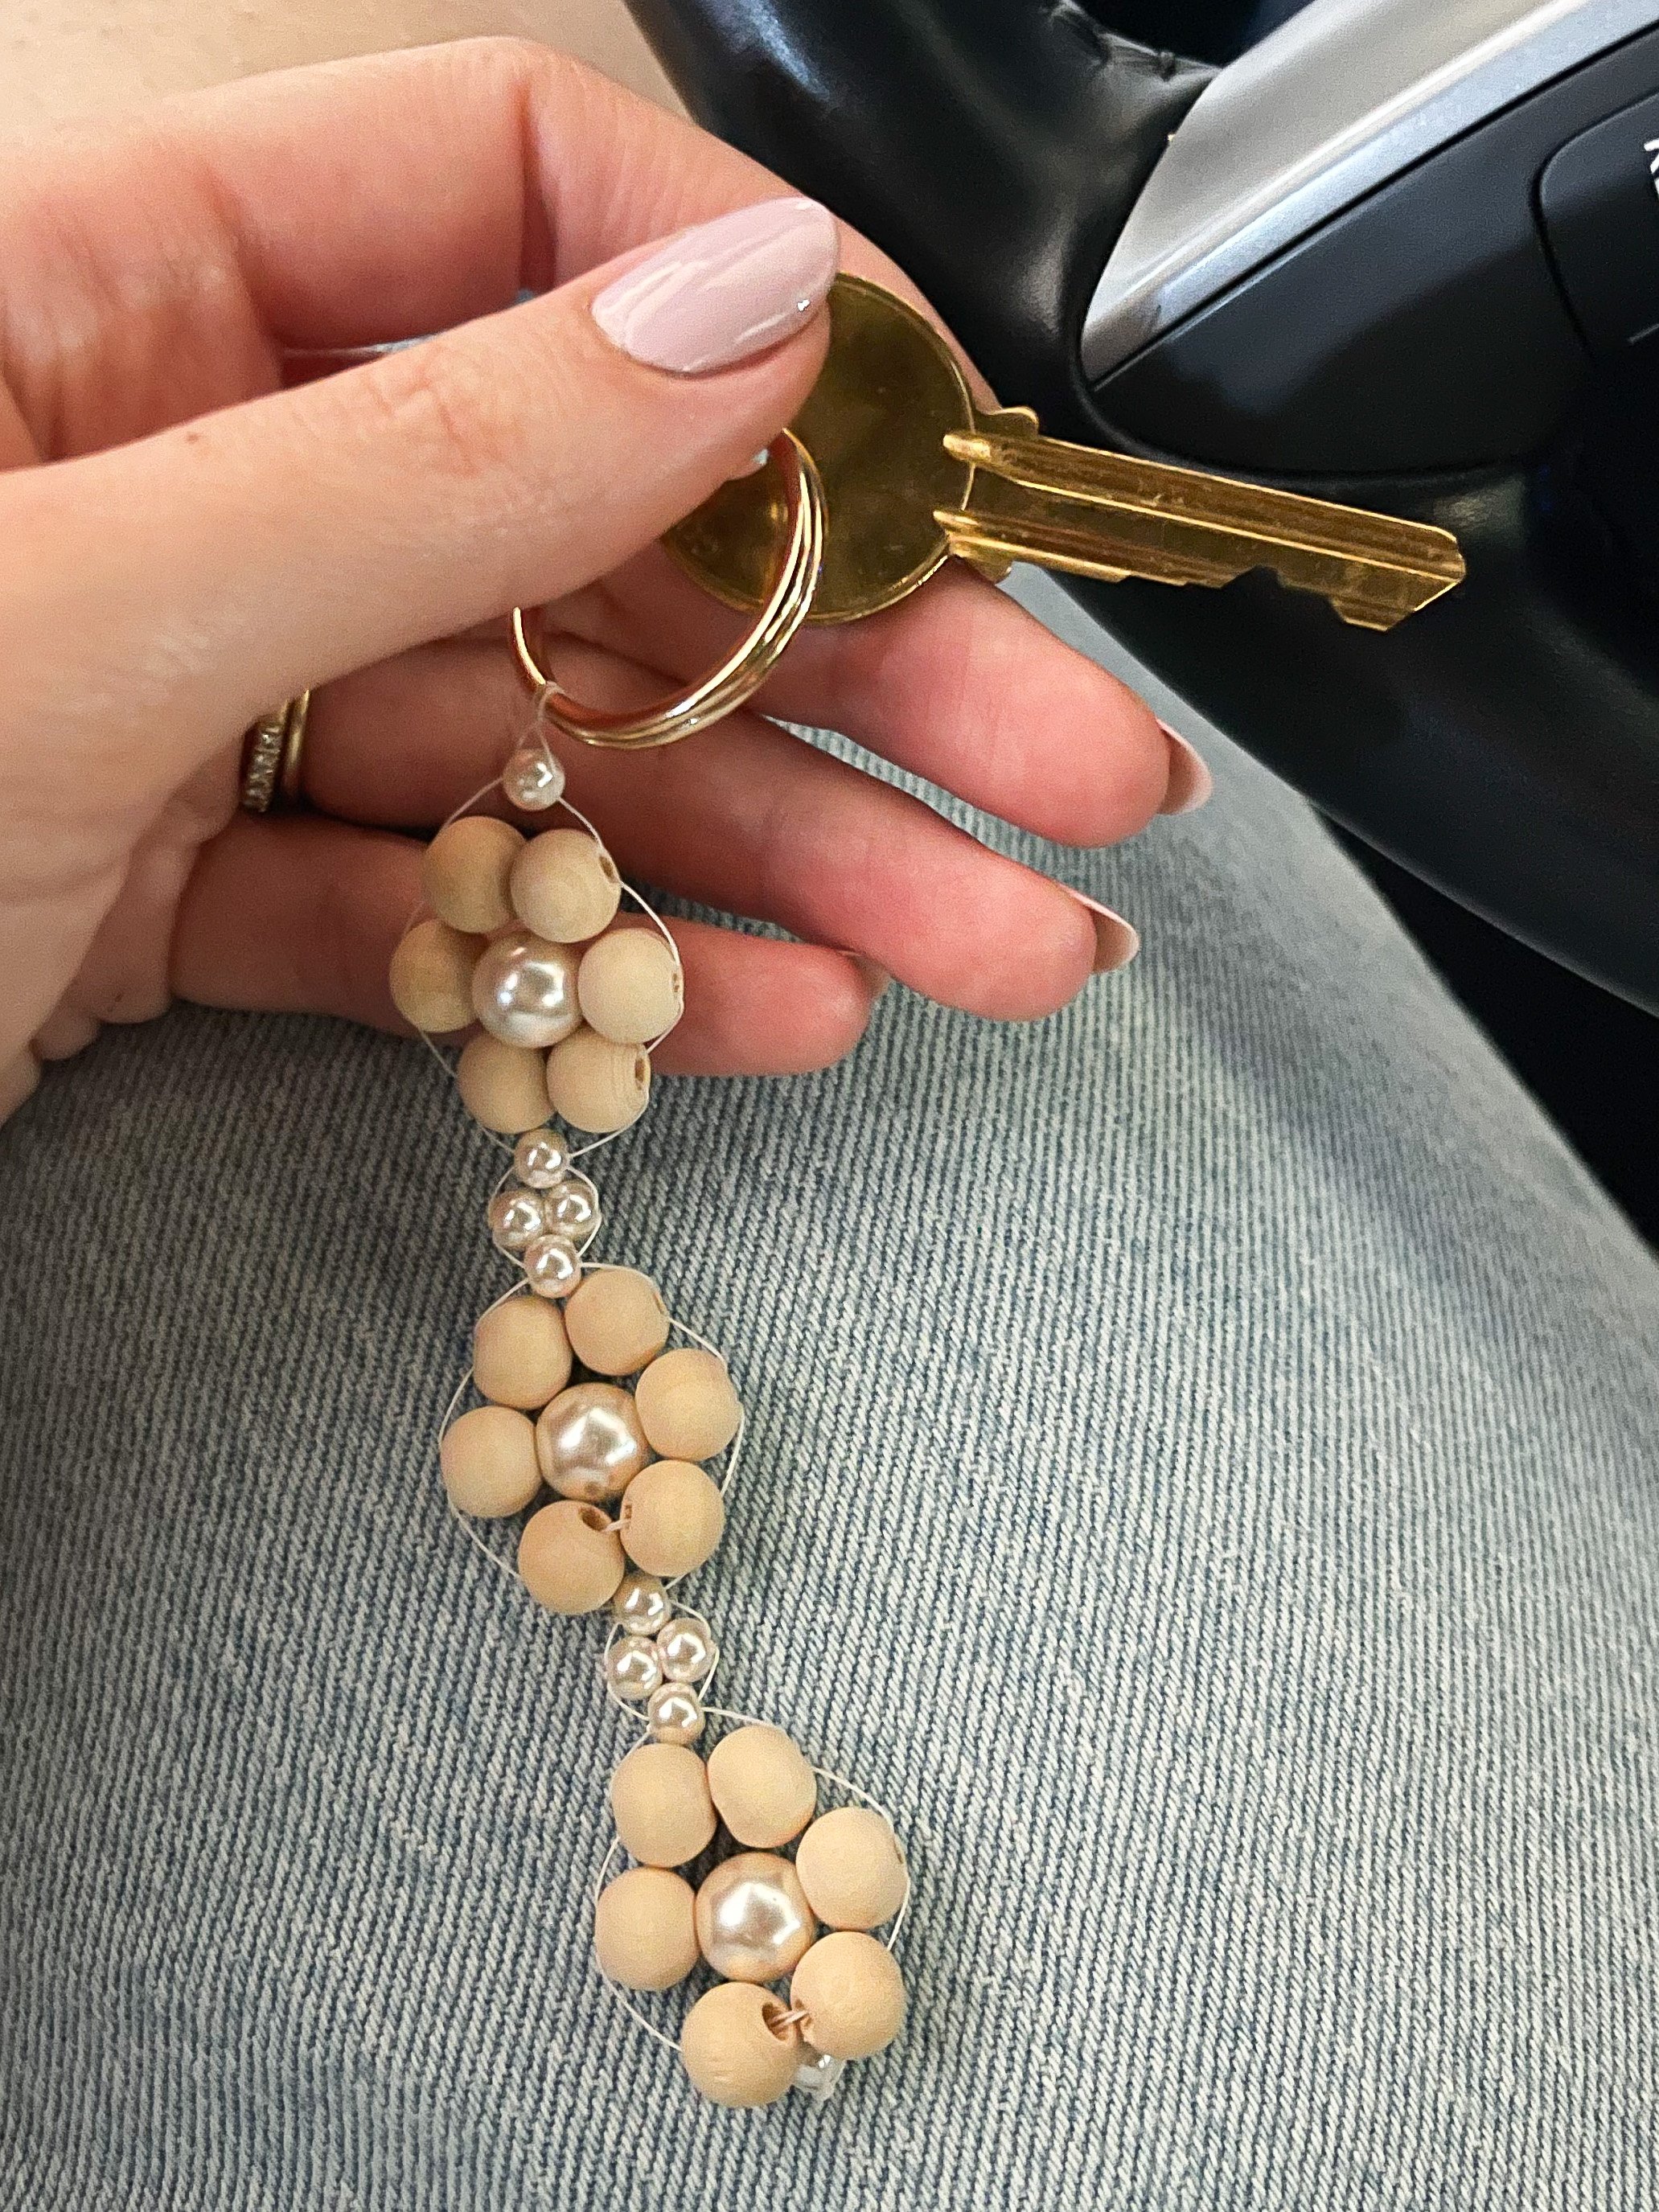
Grown Up DIY Bead Weaving Keychain: Wood & Pearl Floral

Remember those pony bead keychains we used to make in the 90’s that were lizard shaped or all different animals? I’ve been feeling nostalgic lately for 90s crafts but wanted to put a grown-up spin on it that matches my current aesthetic. I’ve been seeing lots of cute 90s daisy beaded necklaces pop up on my Pinterest lately too, so I thought this wooden pearl floral beaded keychain would be the perfect combination of the two nostalgic crafts into something I would still use today.
This is a great craft if you want something easy, cheap and just to relax! I think they would make a super cute gift too to add onto a bigger gift or on a gift bag.
SUPPLIES
String (I used very thin “weaving thread.” If you have bigger beads, I think embroidery floss would be prettier, but I already had this on hand and it worked well for small bead holes.)
Wood Beads (The ones I used are 8mm)
Pearl Beads — I had two sizes: The center of the flowers were the same size as the wood beads, and then I added some smaller pearls too as spacers. These pink-ish glass pearls looked so nice (and more like ivory) in person but you could definitely use cheaper plastic pearls too.
Keychain top — I loved these gold ones.
INSTRUCTIONS
Start by tying the string onto the keychain (I simply folded the string in half, and then did the old pull-the-ends-through-the-loop trick so there is no actual knot). You should have two strings in the end — a right and a left of even length.
Tape the keychain down for easier beading and to keep threads from tangling
Start with one small bead. Add the bead to the right side. Then bring the left side string through the same bead from the opposite direction. Pull it taught.
Repeat Step 3, but with two wooden beads. Pull each side string through both beads at once. When you pull it taught they should be centered around the very first bead.
Repeat Step 4, but with a wood bead, then a pearl bead, then a wood bead.
Next up is 2 wood beads again
Add a spacer: I did 1 small pearl, then 2 small pearls, then 1 small pearl. It could look nice with just one simple pearl here also I think!
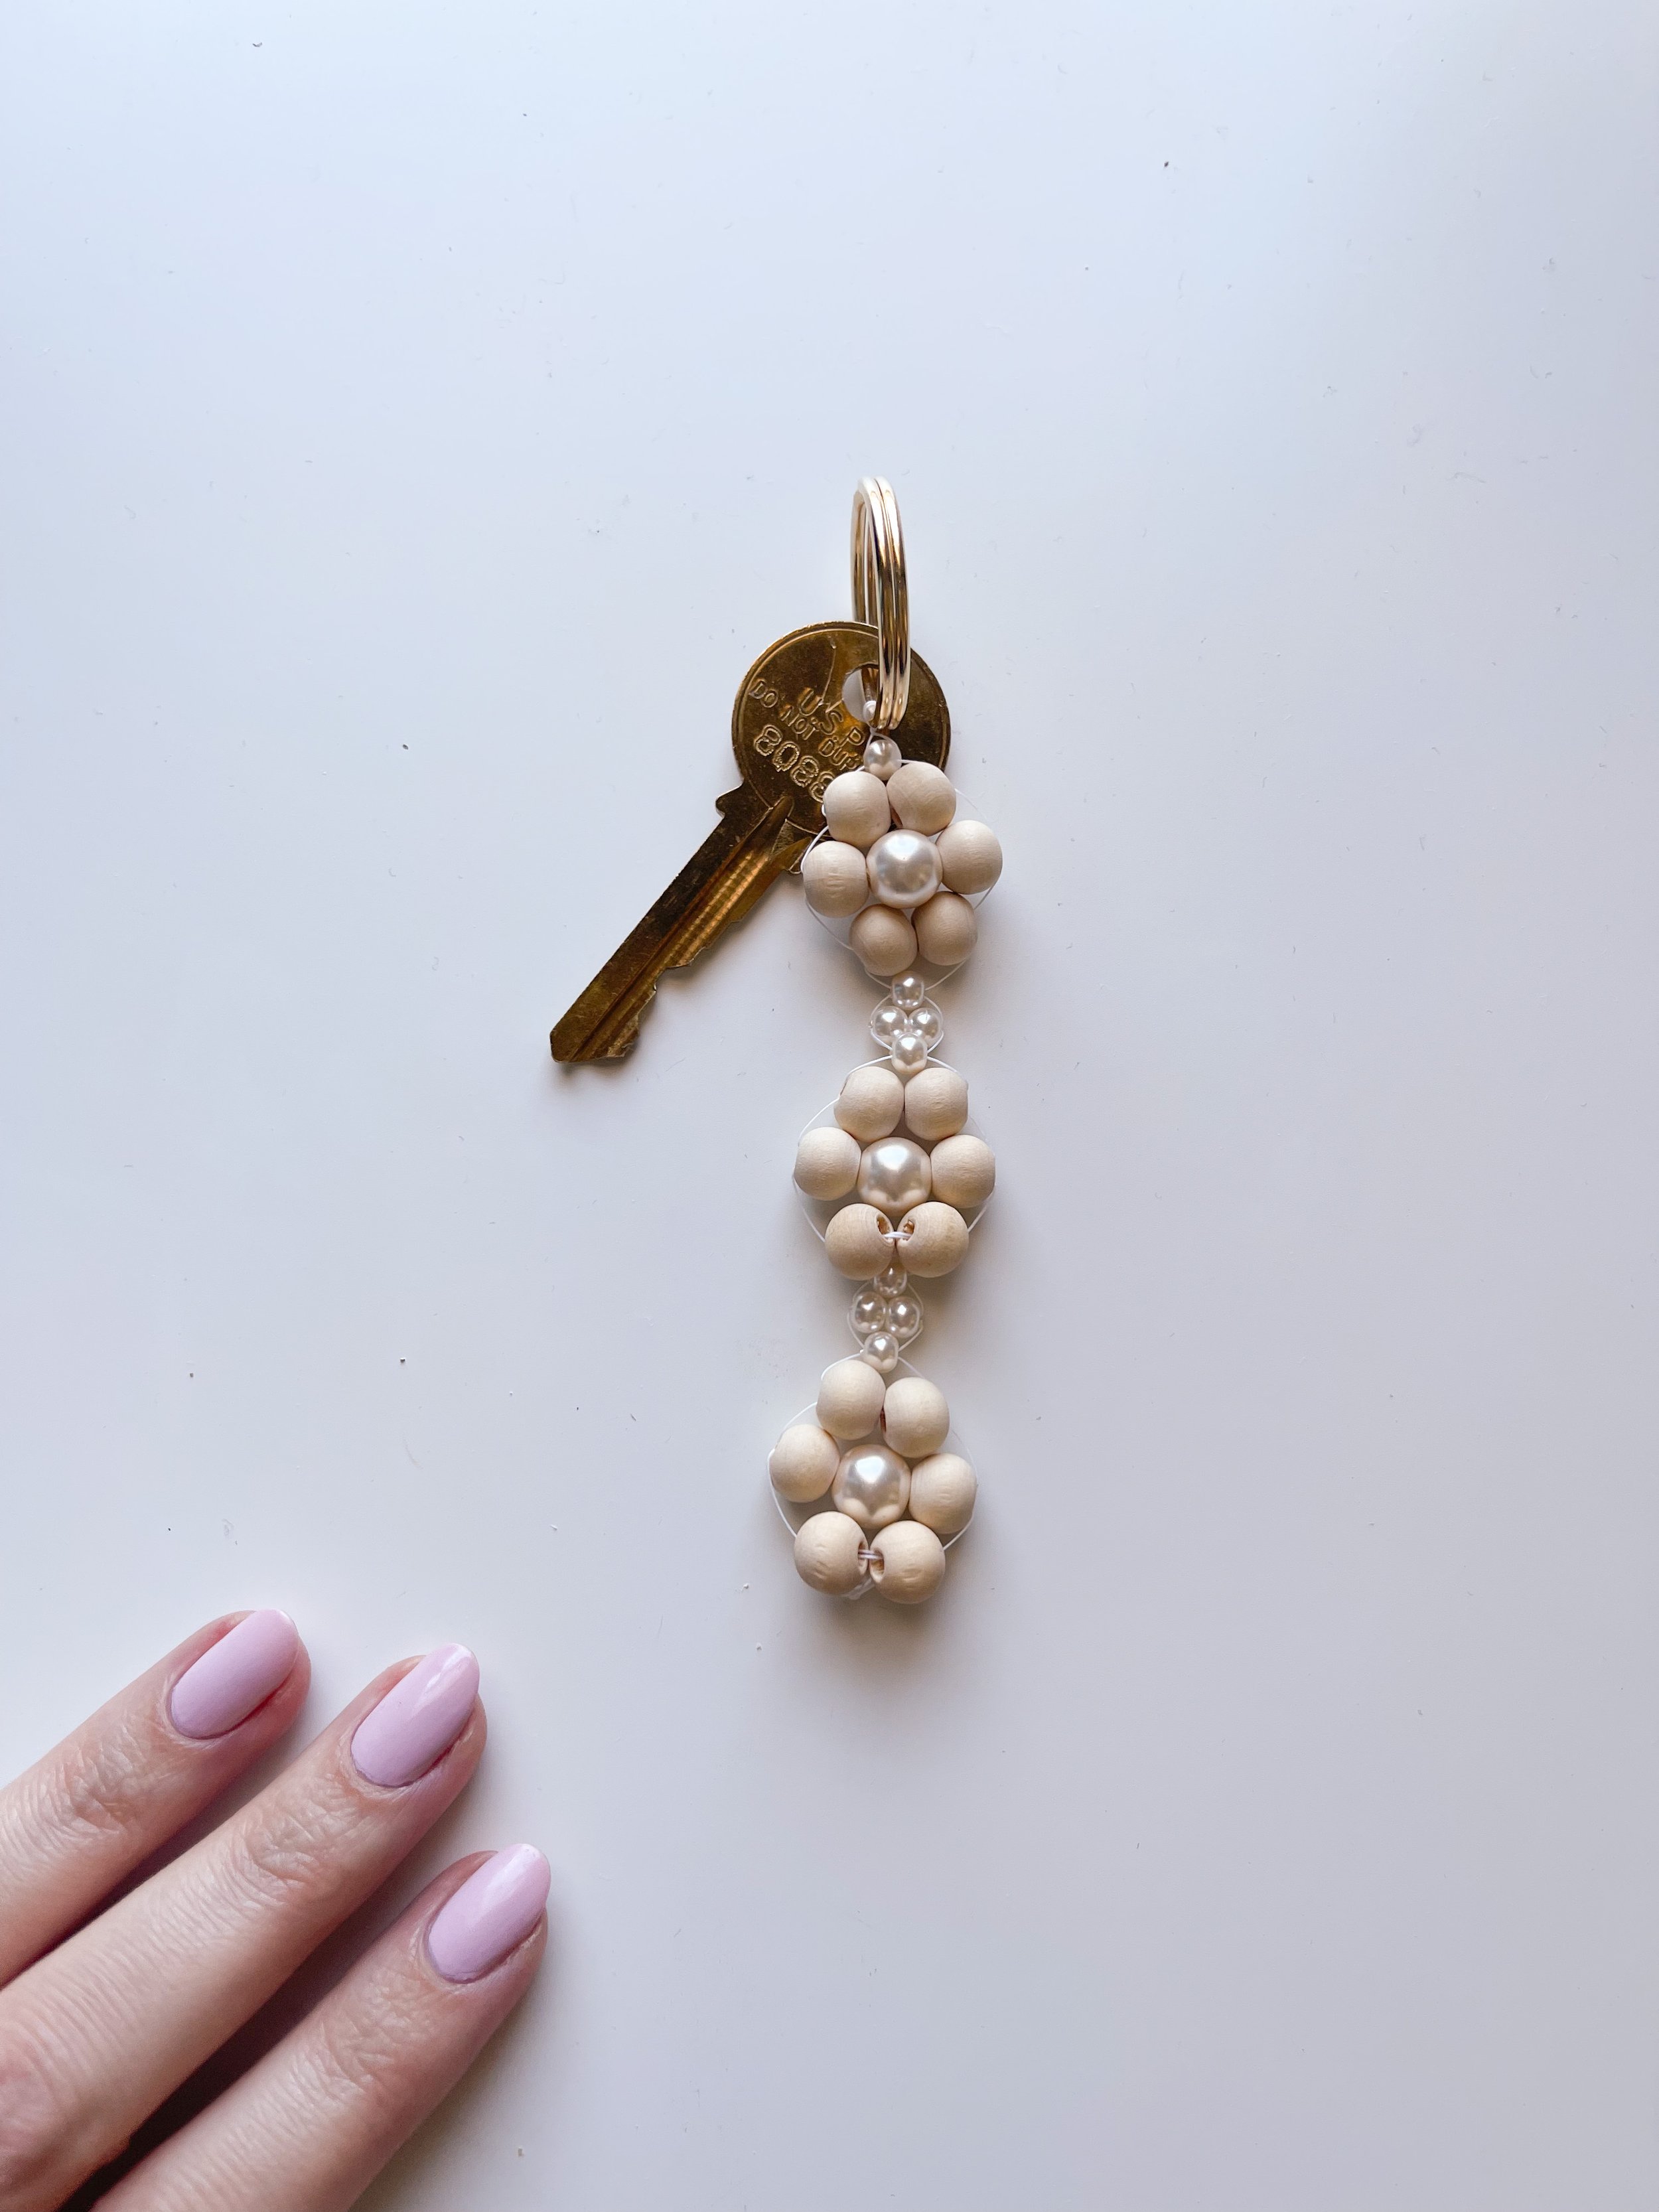
Repeat until you have three full flowers, then tie a simple knot on the end!