MY NEW BLOGGING OFFICE: BEFORE AND AFTER
Welcome to a tour of the most impulsive large-scale project I’ve ever done! I had been dreaming of my own office space for a long time, but basically didn’t have the guts to figure out what to do with everything we had in the “storage room” which was the only possible spot I could set up an office.
Because our house was fully furnished when we moved in as renters, we’ve been storing quite a bit of furniture along with some craft supplies, sentimental things from our wedding, childhood memories, luggage, etc. all in this one room, and it had become a catch all for anything in our house that didn’t have a home. This picture is after I’d already started cleaning it out! (Not pictured: 2 dining room tables, a third tall metal shelving unit filled with a coffee table, 4 dining chairs and more)
Honestly, kind of embarrassed to even show you this, but you have to see it to fully understand how exciting this room transformation is!

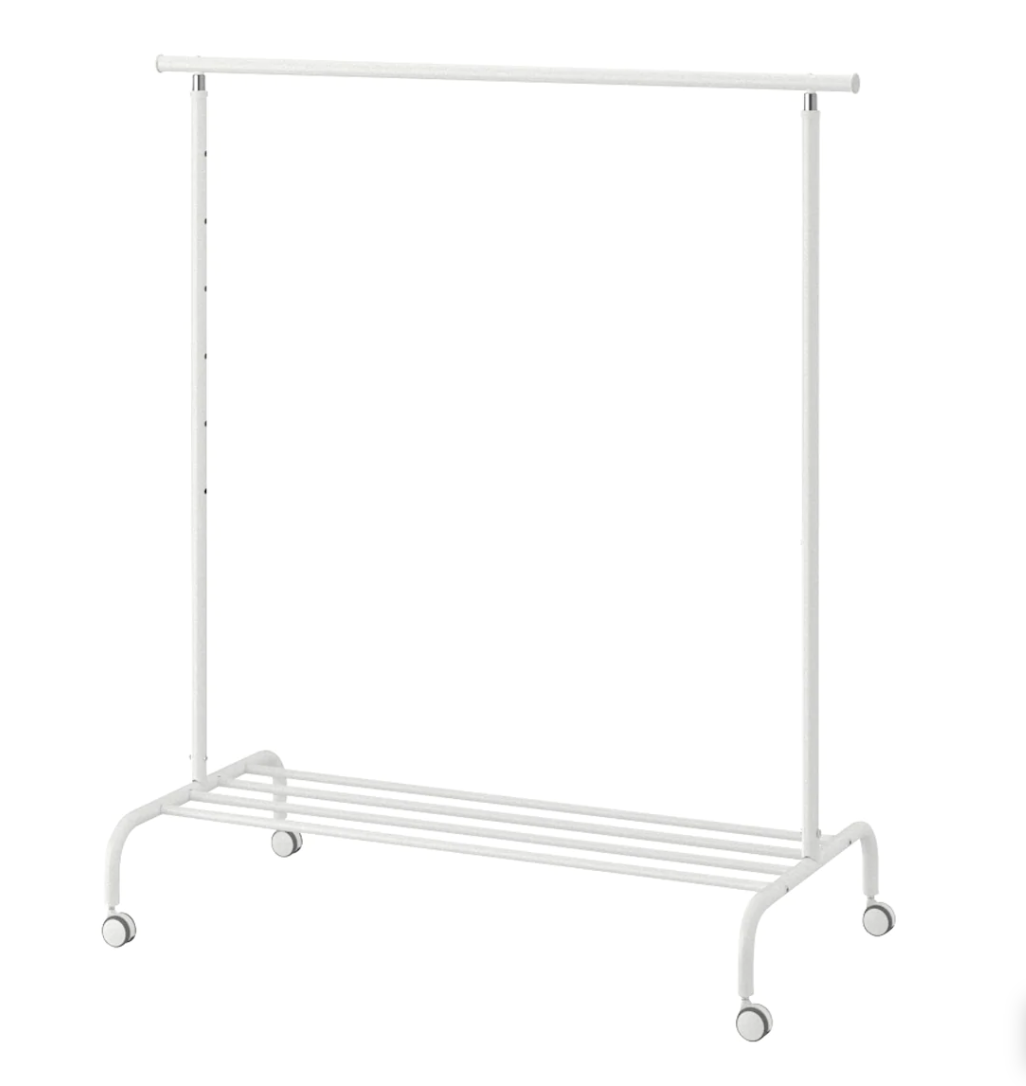
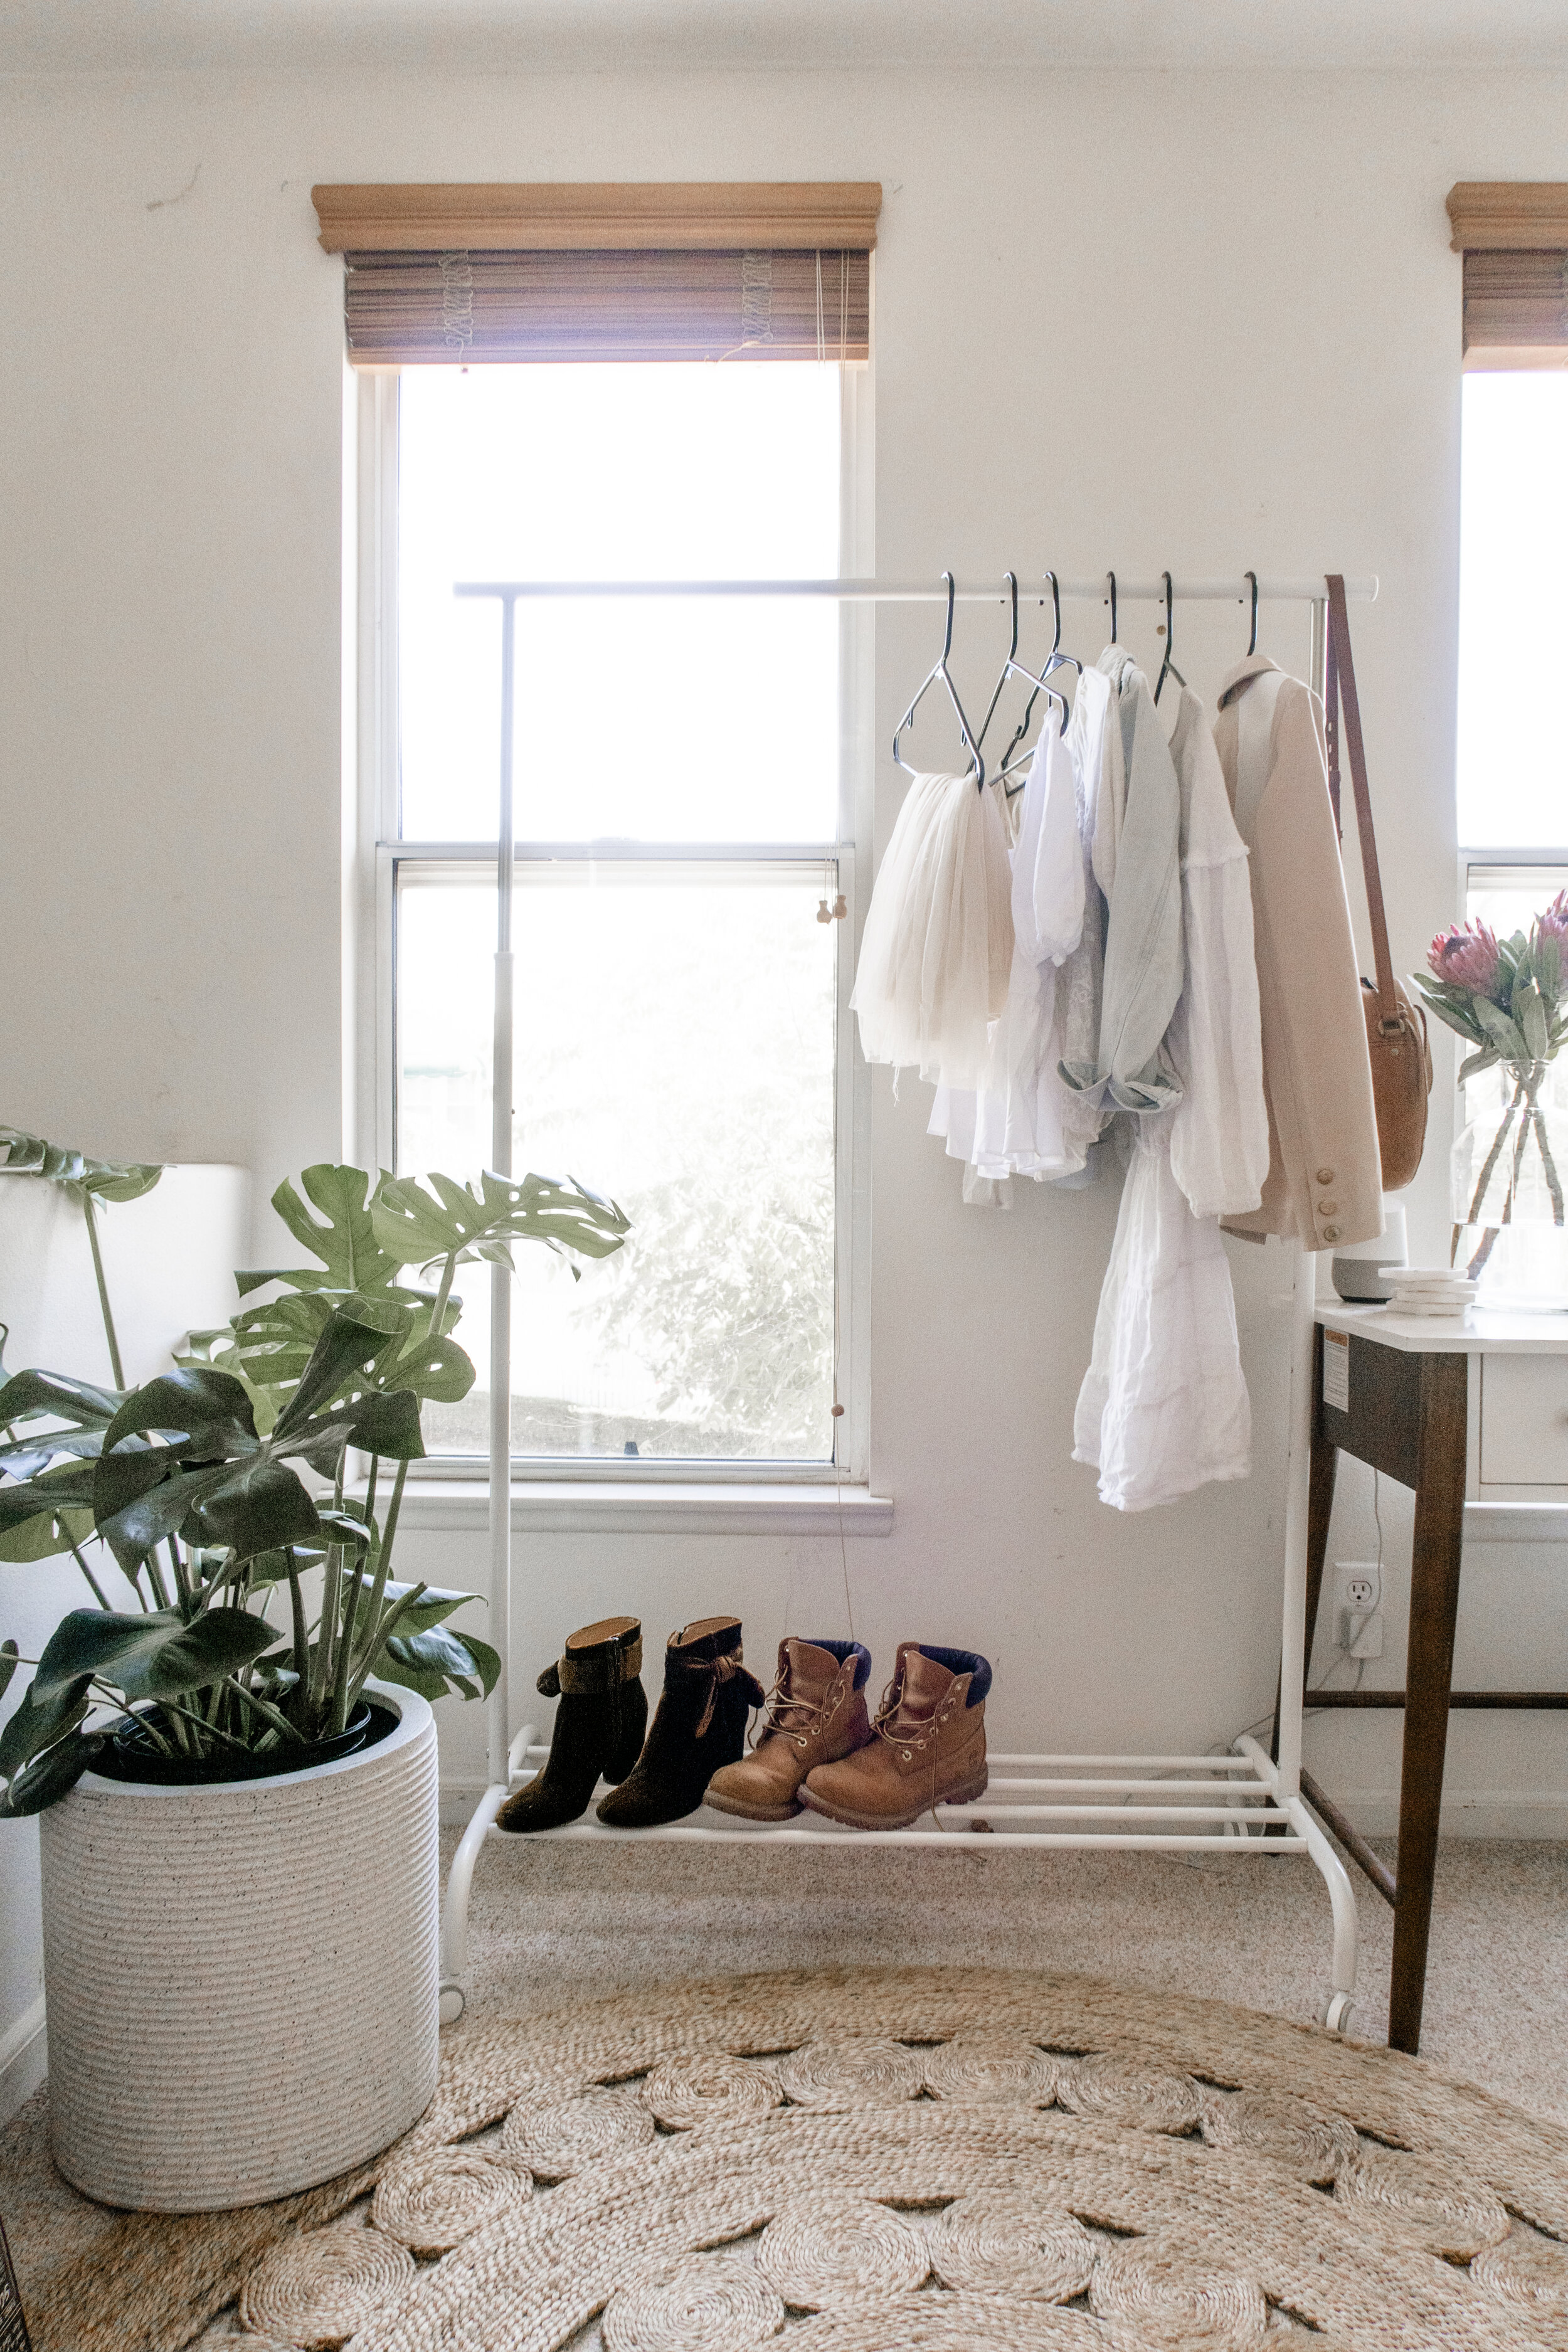
It all started because we had some 100-degree weeks here in LA, and along with it came a lot a lot of ants, all over our house. One day, mid-melt-down-about-the-ants, out of fear that they would get all over my closet, I grabbed my clothes, cleared out a tiny section in this room, folded them on the rack and claimed this room as my new closet + office space. I impulsively moved a bunch of furniture out and into our living room, promising I’d take care of it ASAP, and thus beginning a way bigger project than I actually had time for.
But 3 months later, I’m pretty glad I did it!
Here was my original mood board for this space:

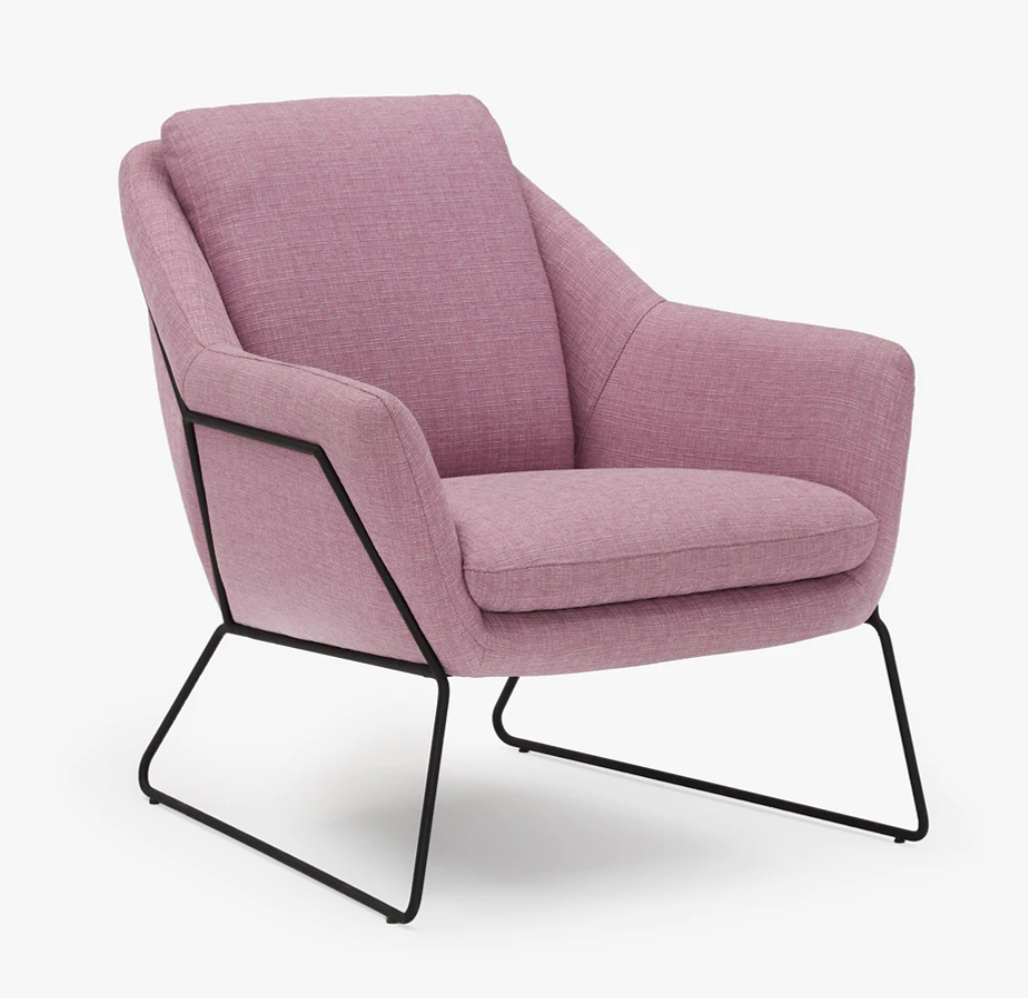
I sent my vision to one of my favorite companies for really nice, customizable furniture: Joybird. I asked them if they’d be open to partnering with me to design this room around their pretty Ivo Accent Chairs, and they said yes! I worked with Joybird on my living room transformation and love the items so much that I knew I wanted to work with them again!
I shared lots more details on my thought process behind the design in the video above, but basically — I wanted something ultra feminine that was still clean-feeling and neutral so that the pink chairs could be the solo pop of color.
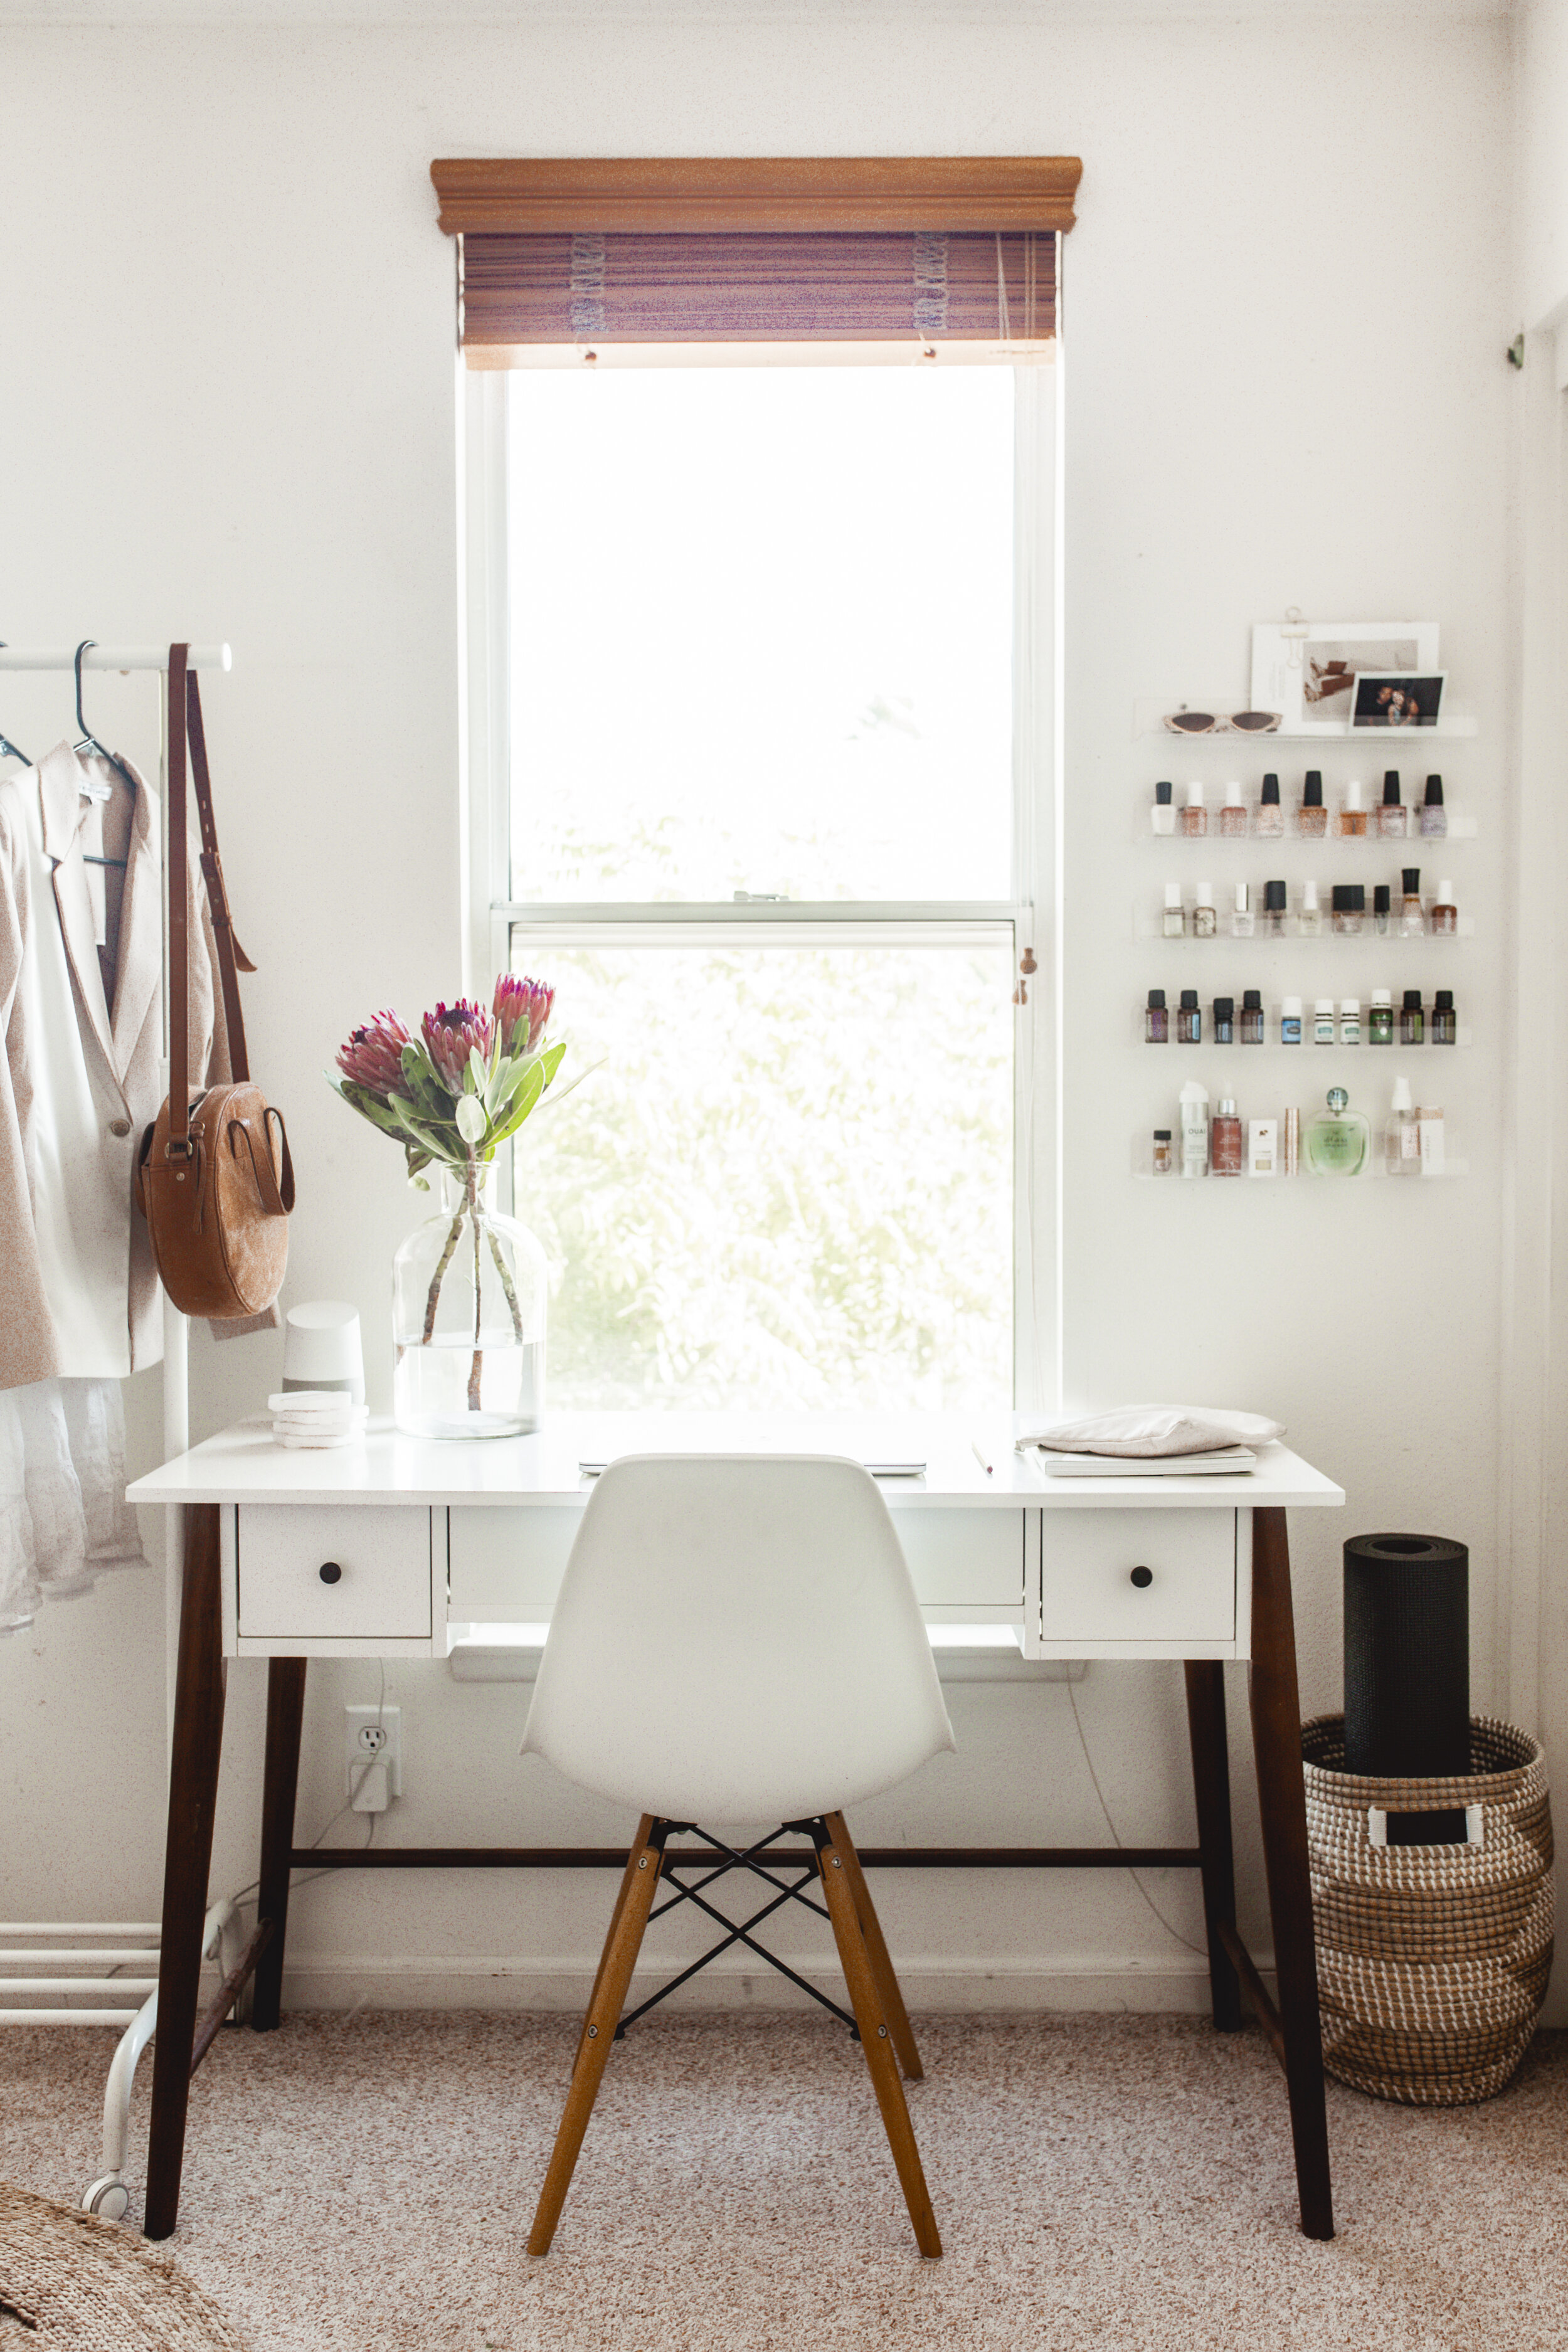
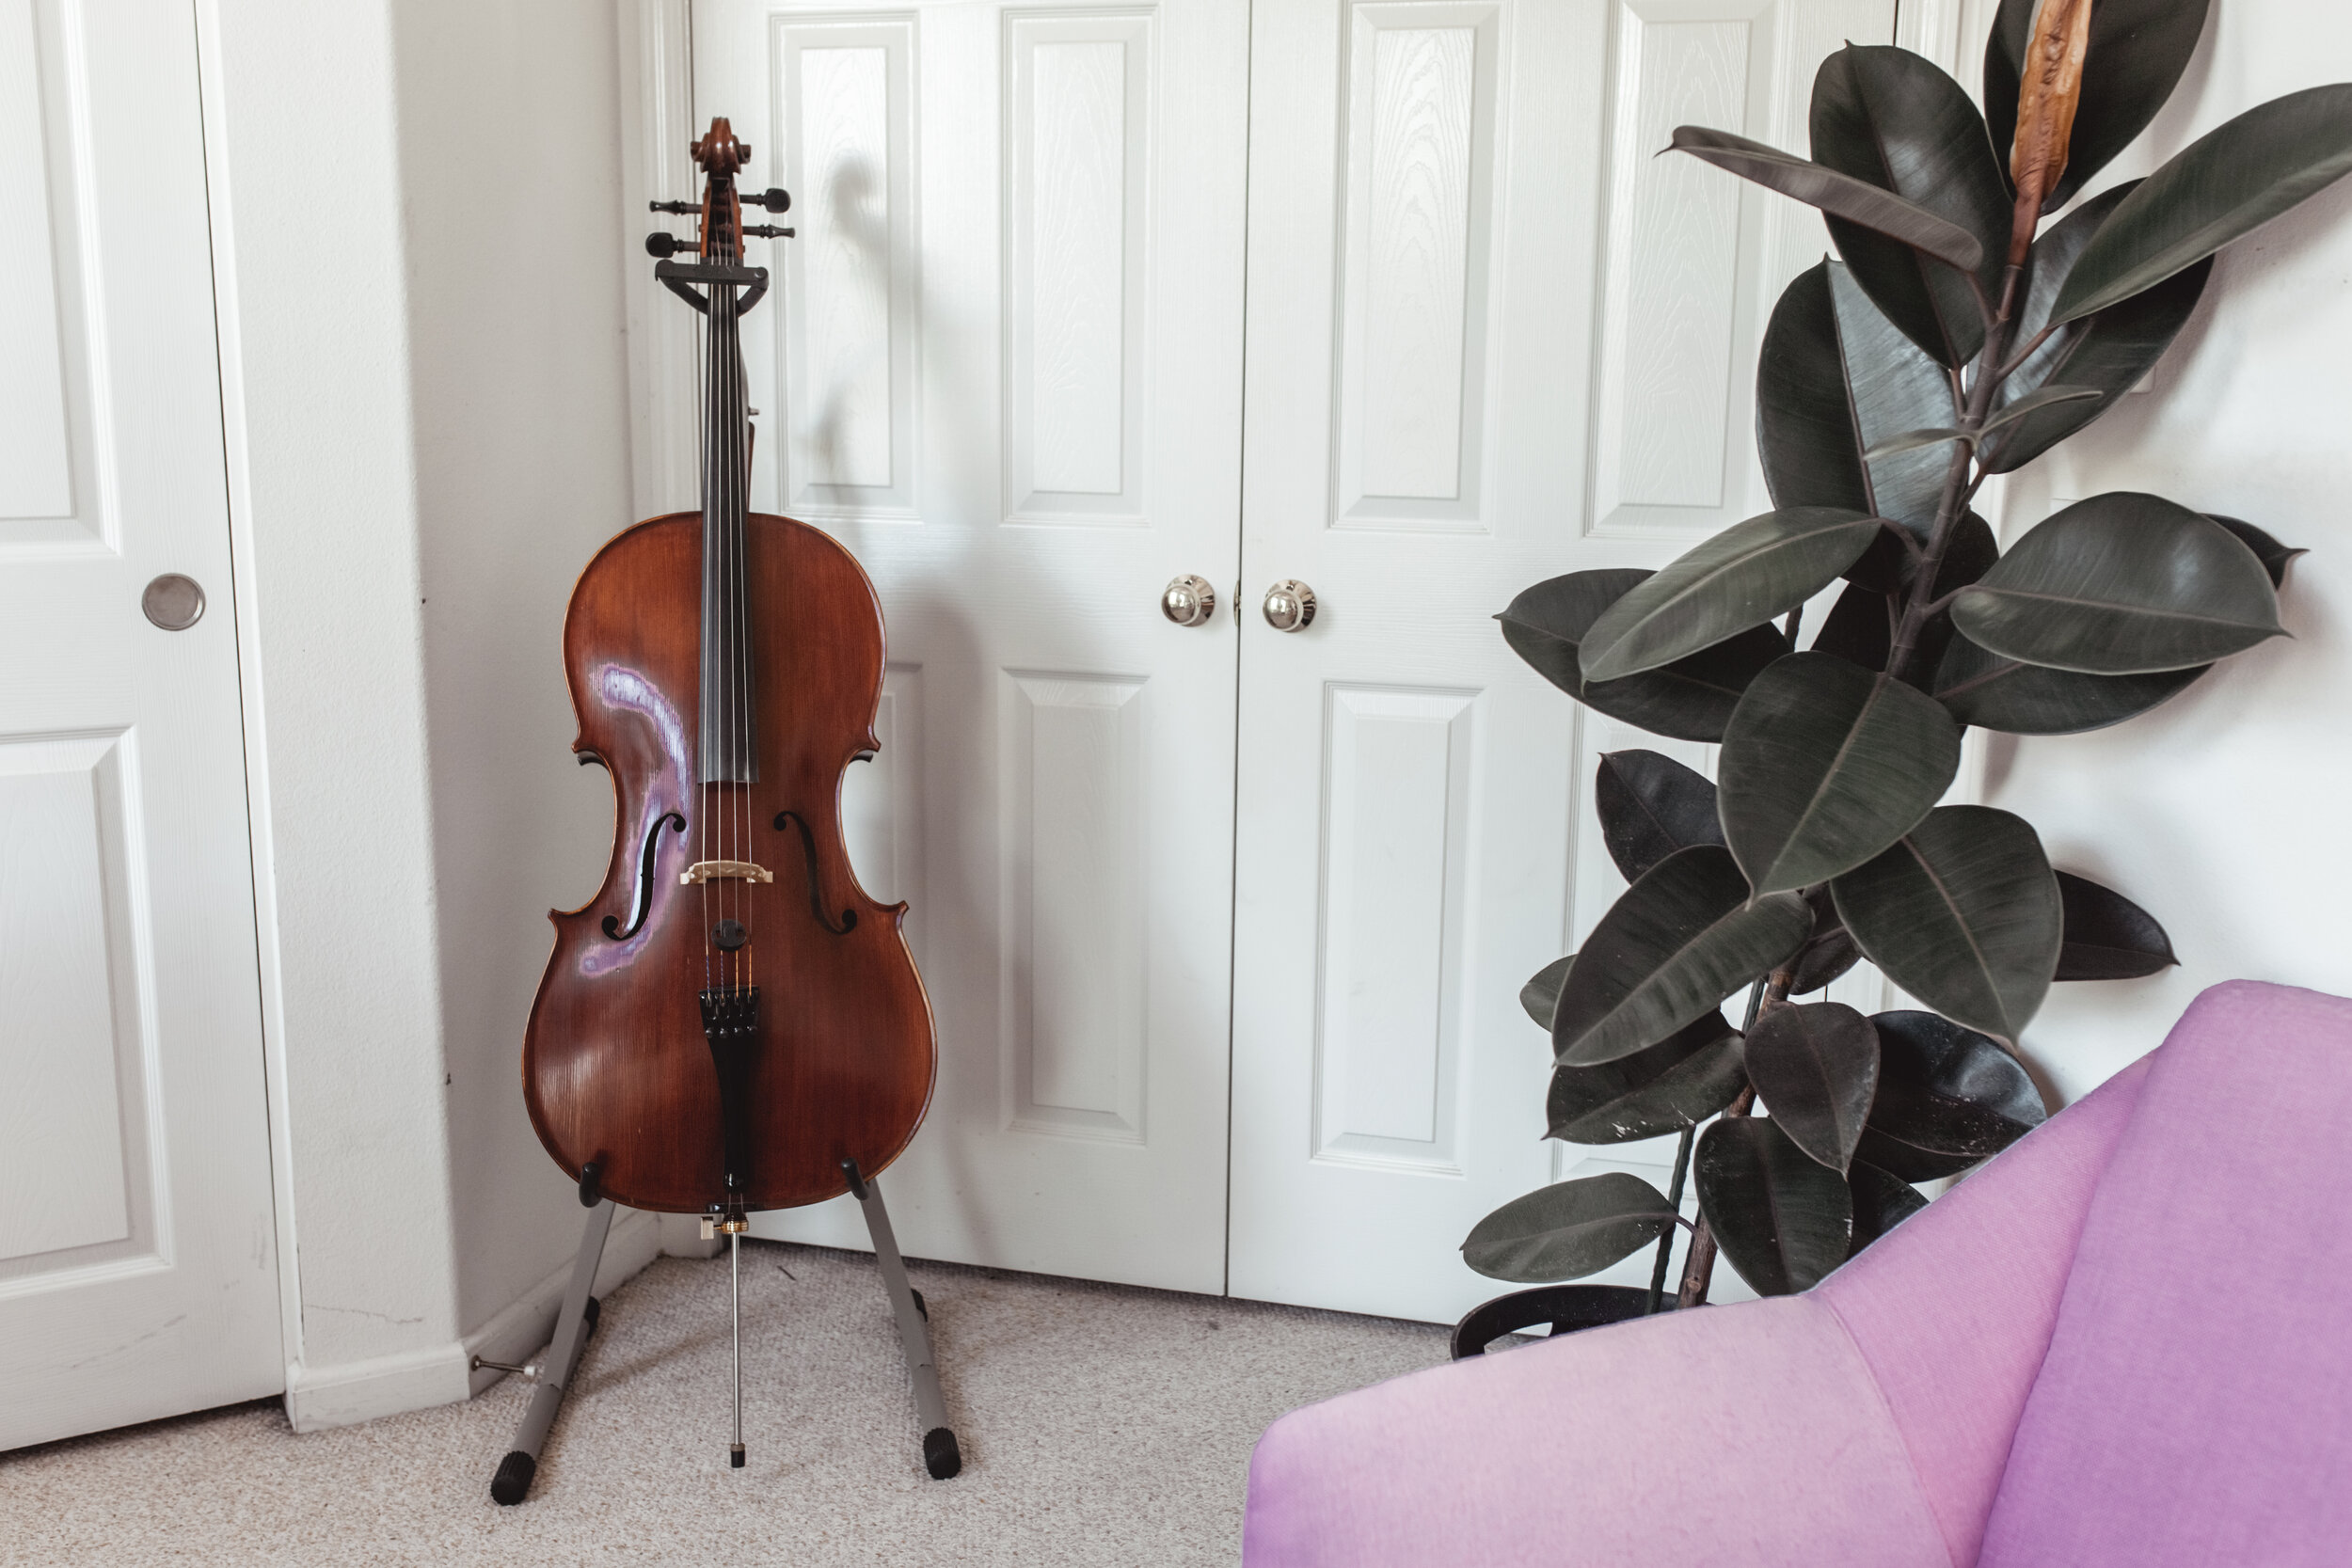
Here’s what it looks like now!
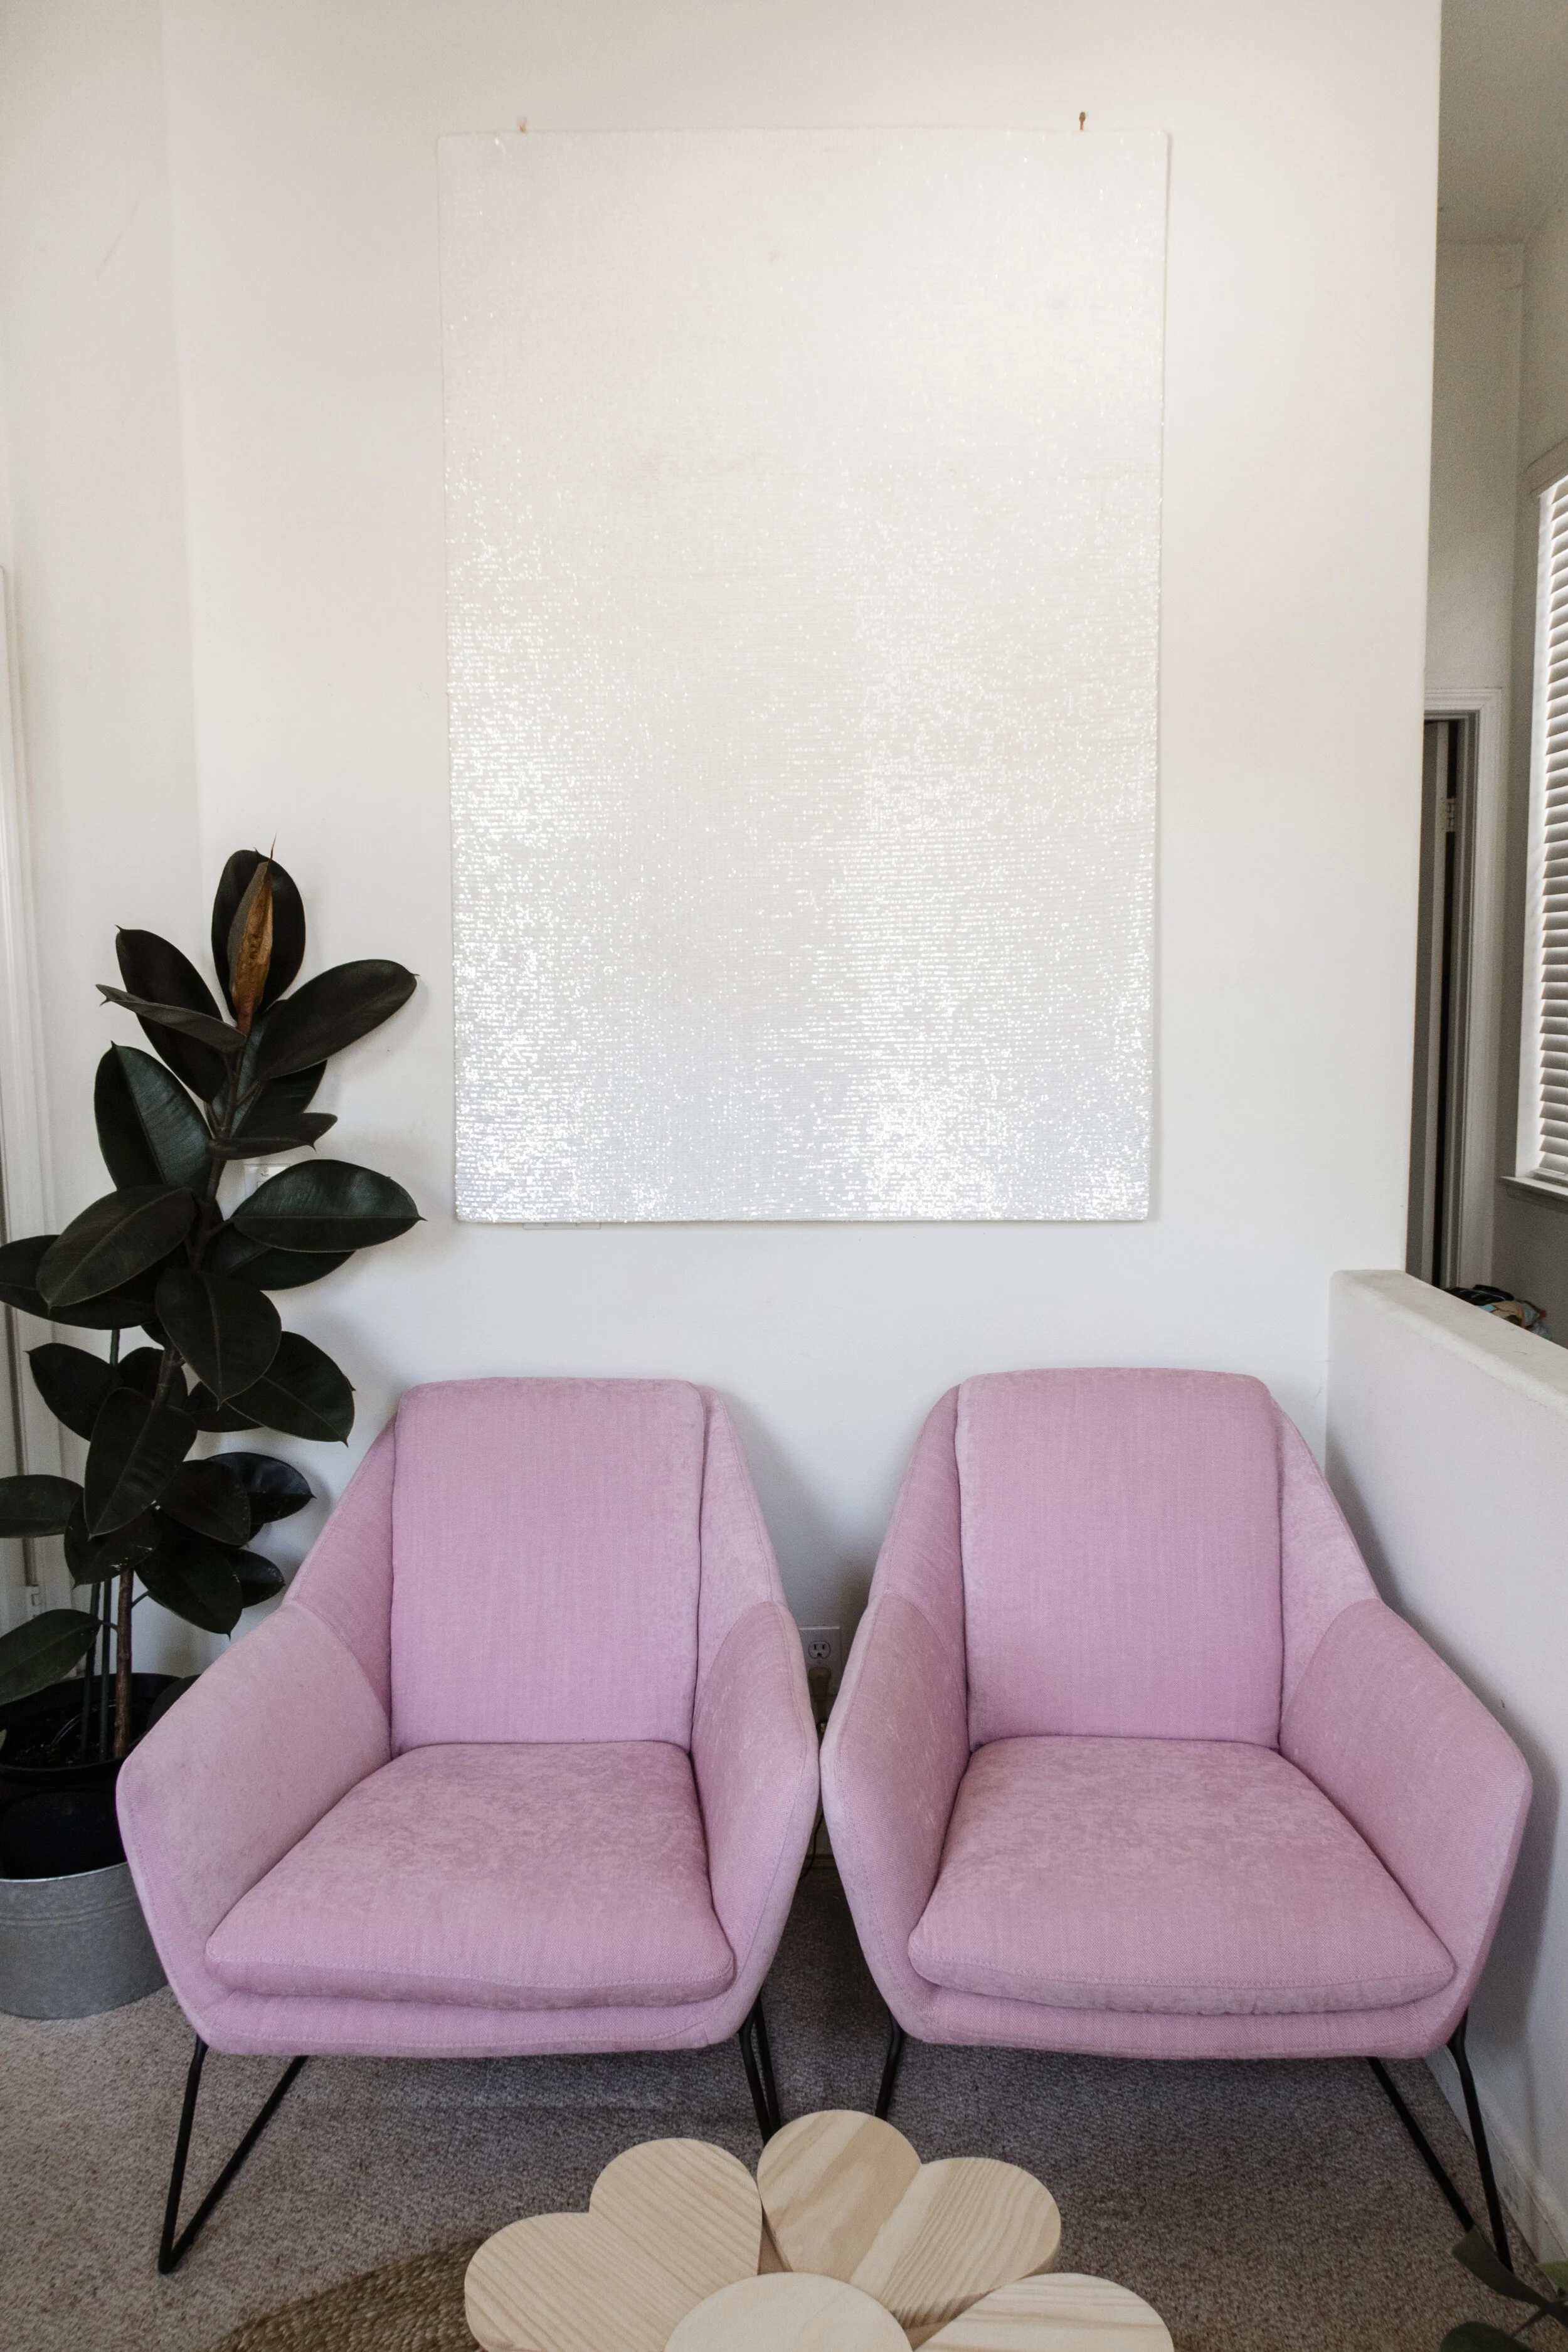

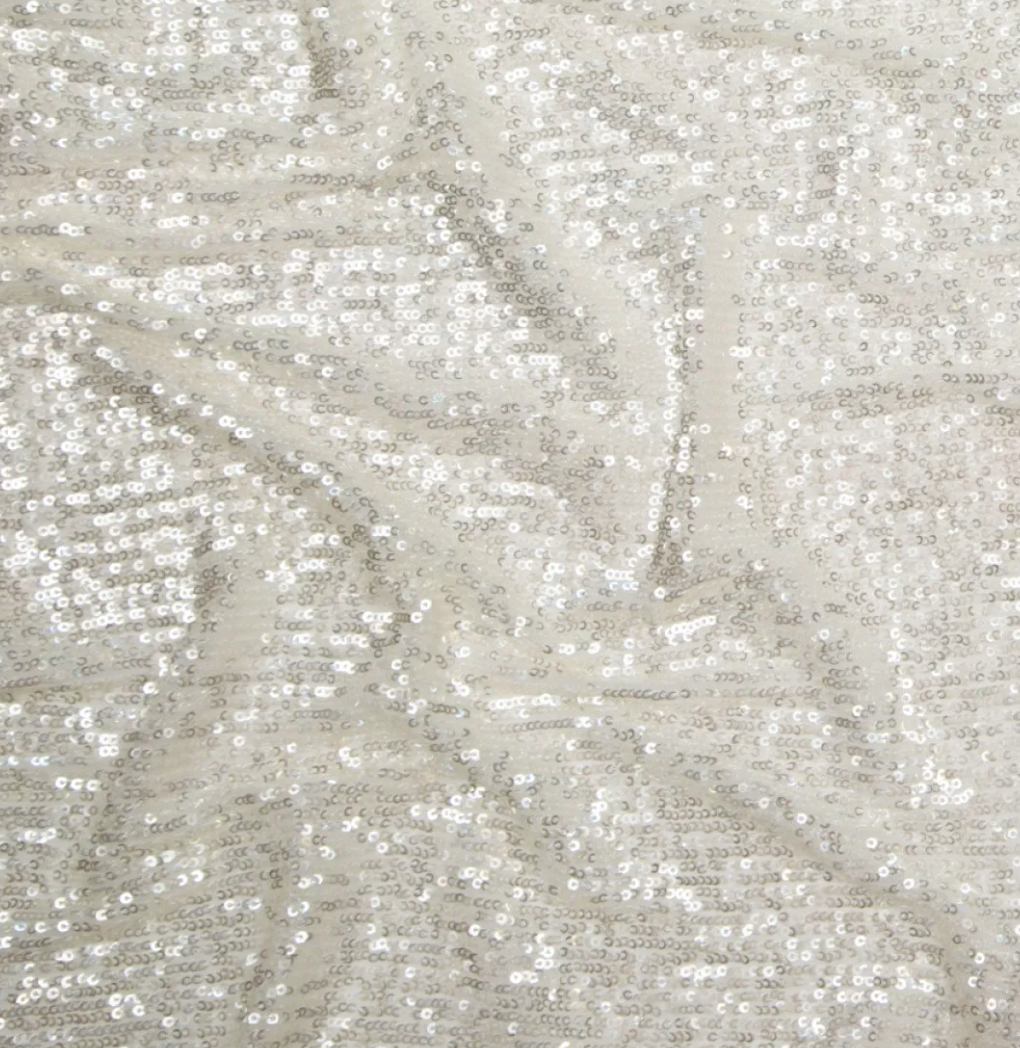
Sequin Art:
I bought this 40x60 foam board from Office Depot and stapled some fabric onto it! To hang it, I stapled two loops made from some random ribbon I found around the house and hung it on a couple of push pins.
I only got a yard and a half of fabric, expecting to have to cut the foam board, but it ending up stretching over the entire board which was great!
I got this fabric from Mood Fabrics, which I typically love for their higher-end quality. Unfortunately it came with some stains all over the back that you can see through in some spots, but I normally have a better experience with them so I would still recommend it.
This whole project cost $60 because of the fabric I chose, but you could do it for much less with cheaper fabric.
I only had two DIY projects for this space: the little flower coffee table/side table, and the sequin art work! Both were very, very simple.
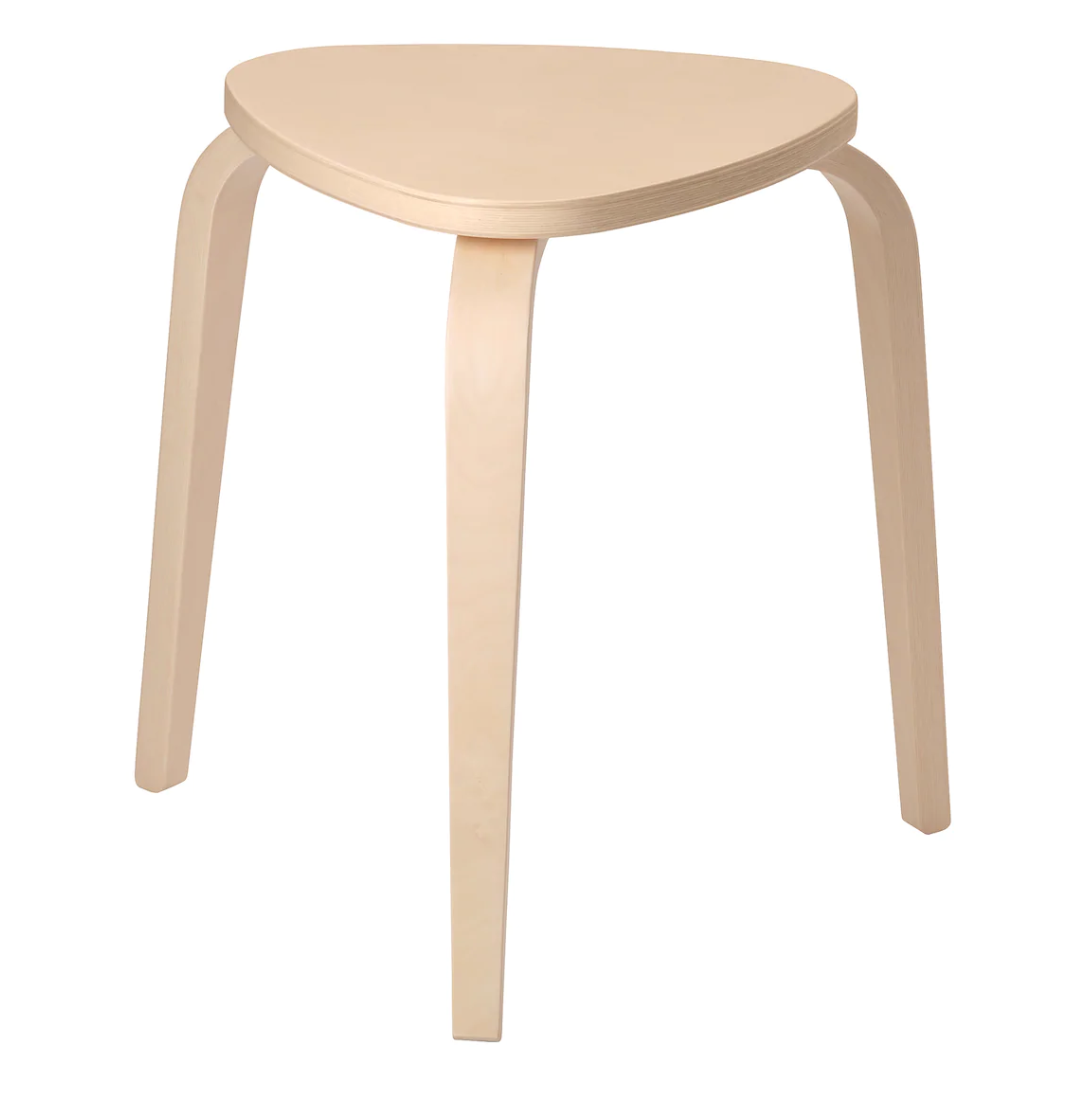
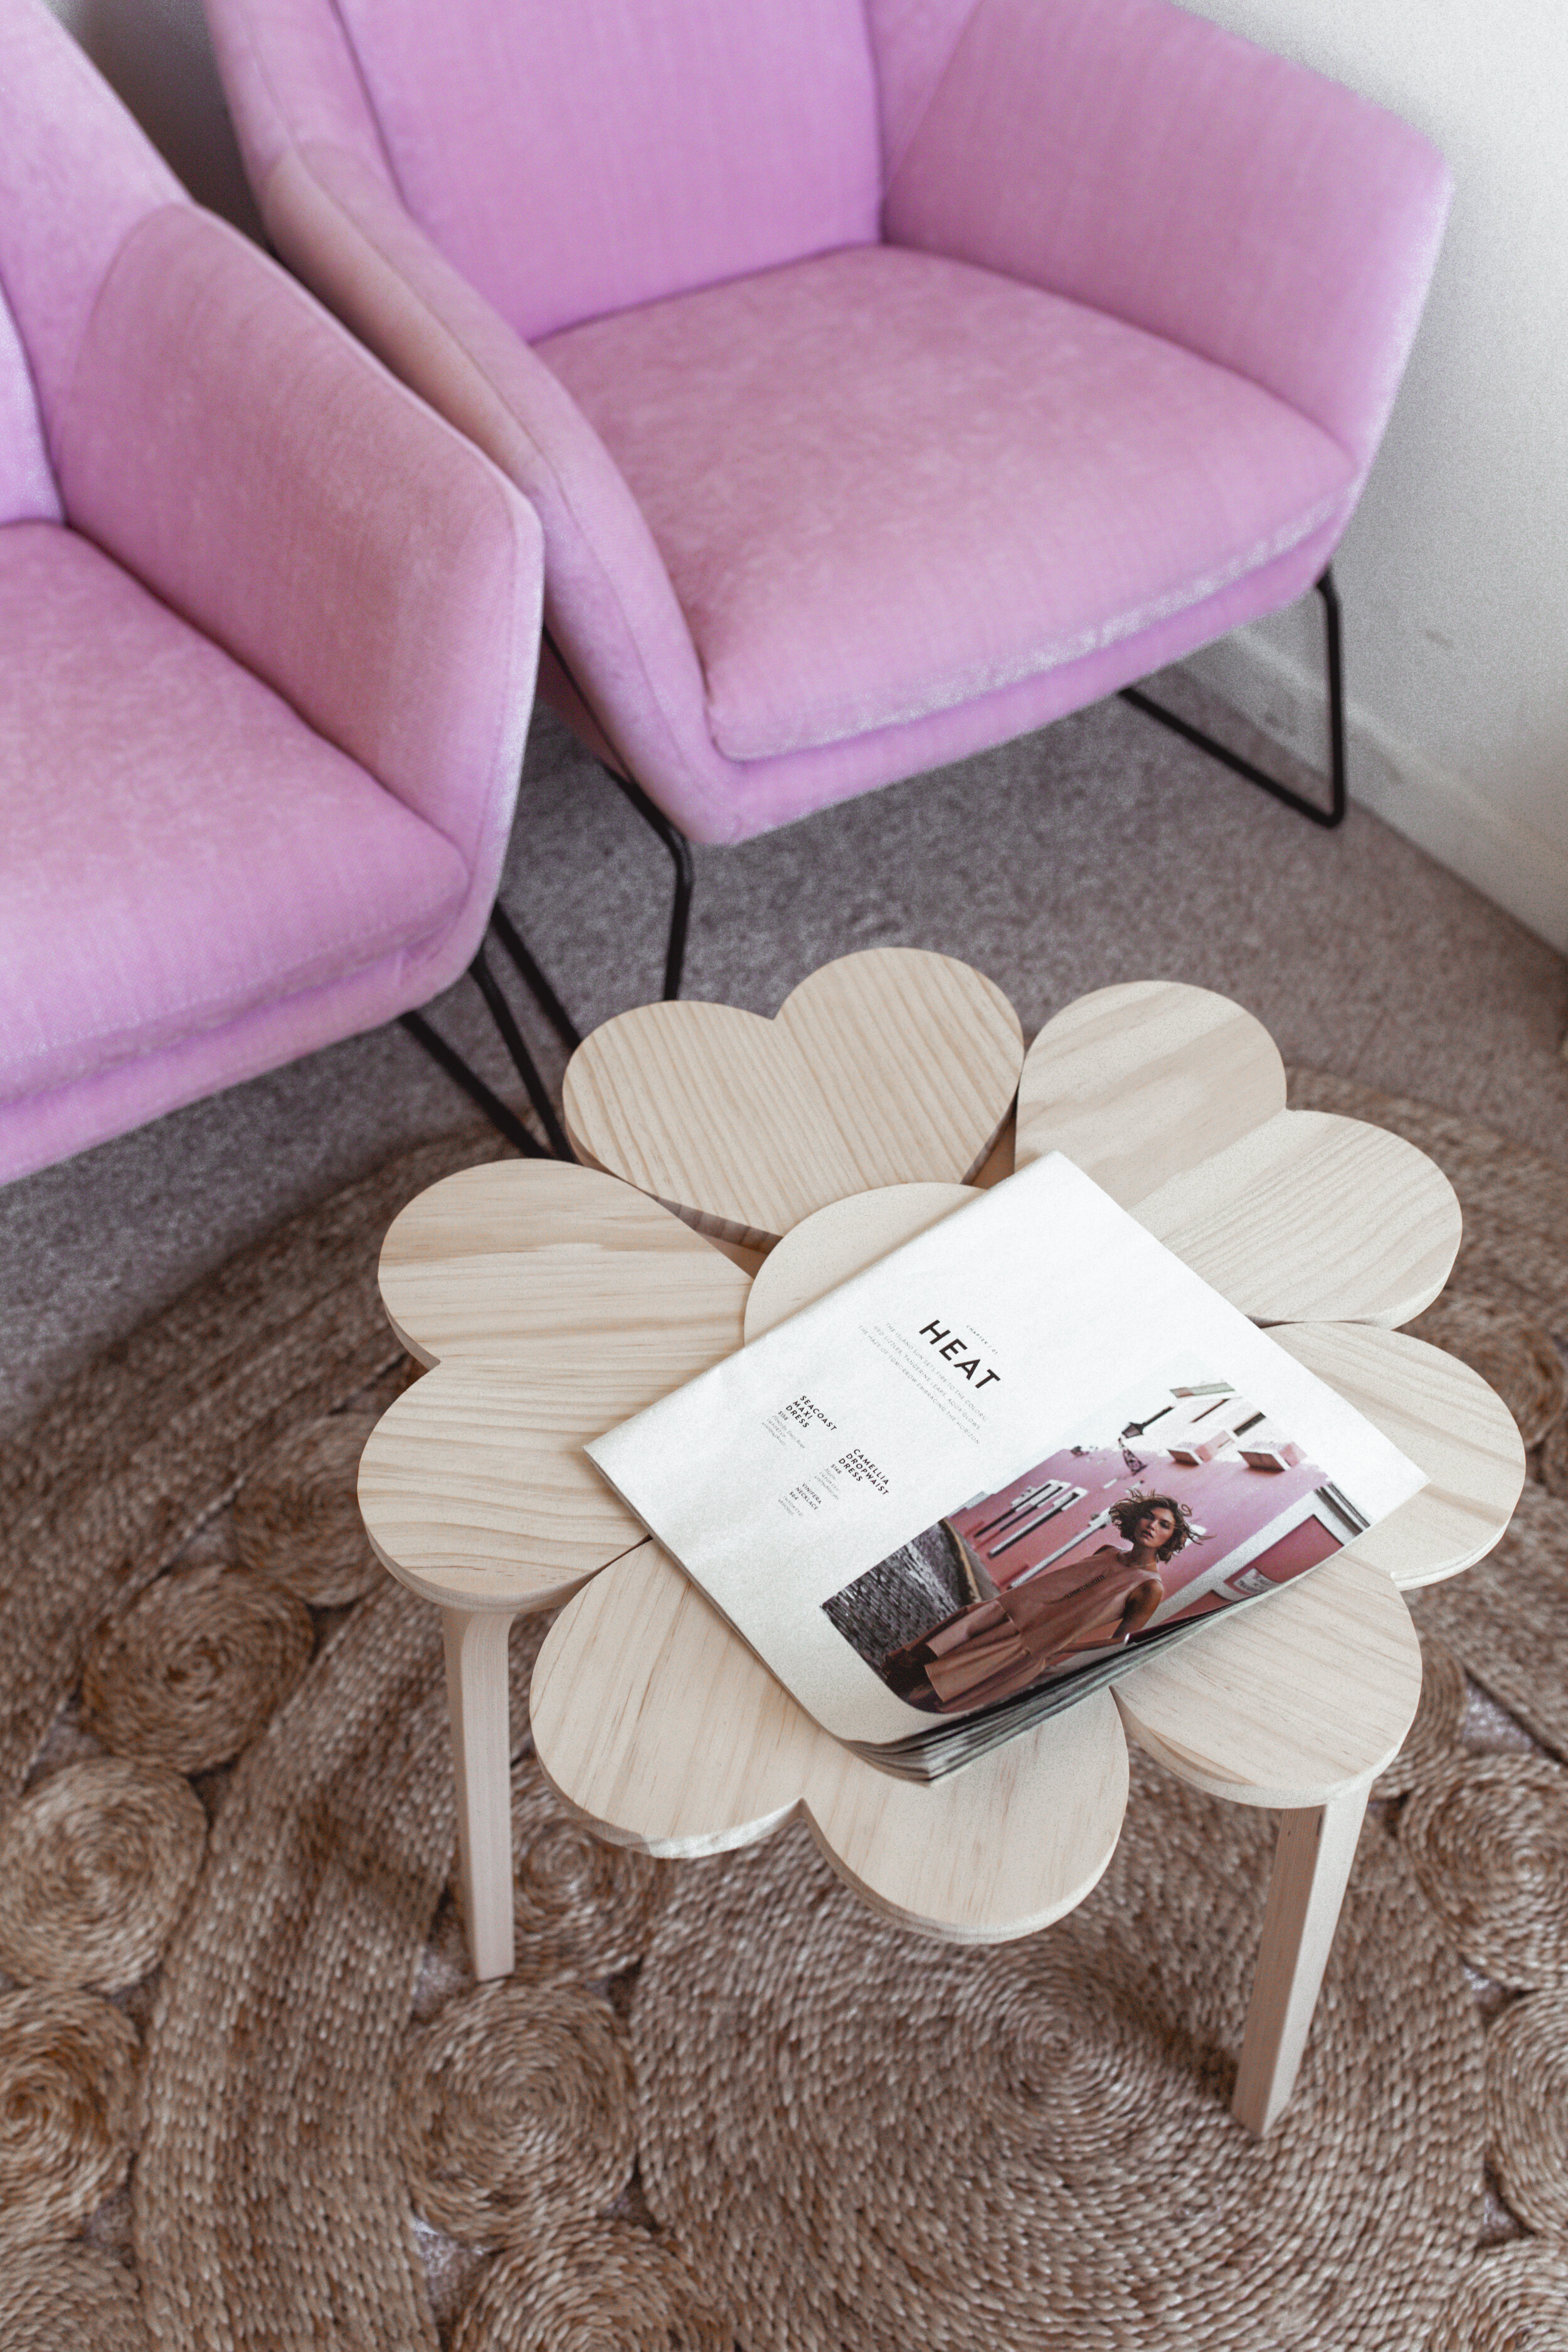
Flower Table:
I found these heart shaped wooden plaques at Michaels and a thin wooden circle, and I used wood glue to glue them to the top of this IKEA wooden stool. That’s it! I didn’t stain or paint or anything.
The edges are just a little rough, so if you try this, you might want to sand a little more or finish them with something, but I left mine completely untouched and it matched the IKEA stool perfectly.
The best part is this entire table only cost $25!

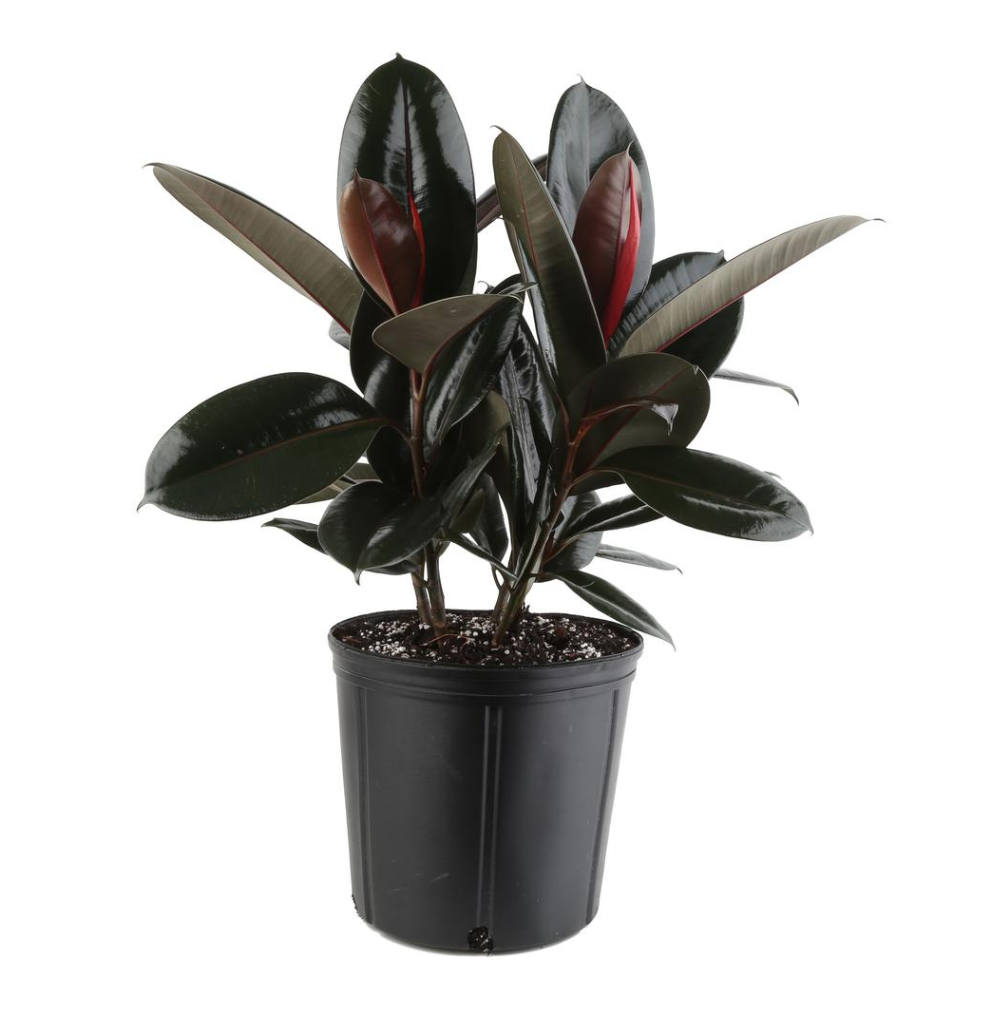
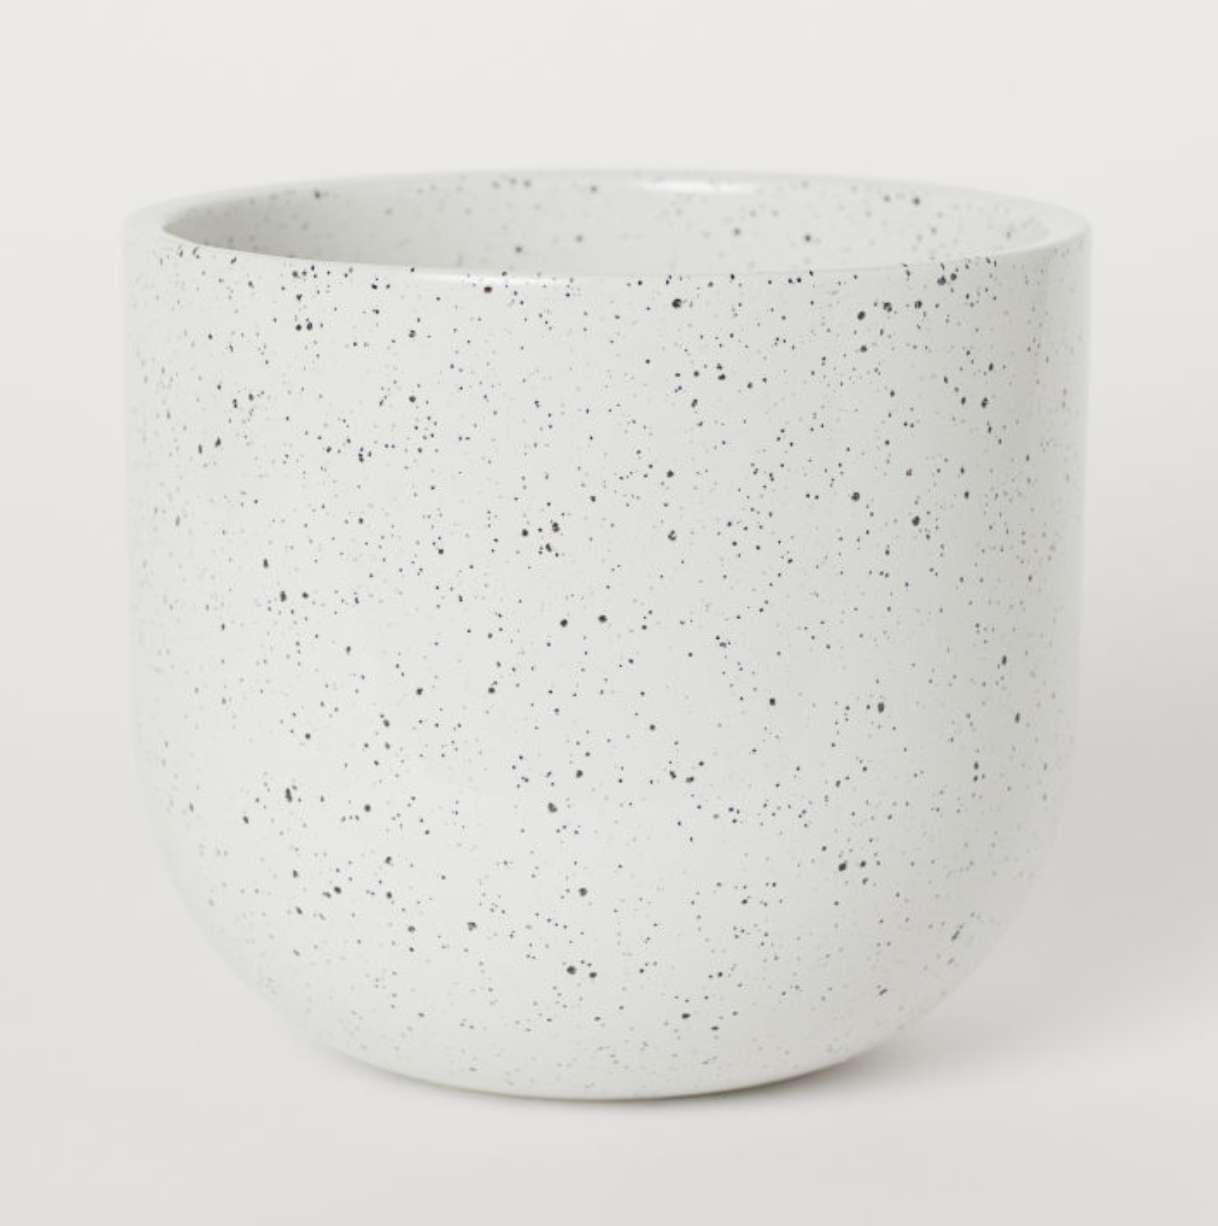
Here are links to everything in this office! (The white planter was from Home Goods a few years ago ($30), and the Rubber Tree was a find on Facebook Marketplace ($50)... I added similar items here.)